

Every journey has a starting point, for the visitors on your freshly built website, it all starts at subscription form. You may be selling a product online or simply creating and sharing content on your custom blog. Either way, it is always a good idea to give your visitors a chance to show that they are interested in your product or content and that they want to come back for more. The easier way is to present them with a simple form to close that gap and create a bridge between you and their mail inbox.
Before, you had to create an entire workflow that would enable a form on a page to be submitted to your server, which would then save the data into a database of subscribed users which you could later query and contact. It has, since then become a lot easier, with many new solutions now available as a service that you can integrate into ANY website and framework, thankfully!
Introducing ConvertKit
One of the most seamless integrations that I was able to achieve and with incredible results, was using ConvertKit's service.
ConvertKit is a complete suite of tools for audience building and retentions. Within their list of features you are able to build automated email funnels for your subscribers, design incredible email templates from within their editor and, of course, embed email sign up forms on your website.

ConvertKit is free to use most of its features up to 1,000 subscribers on their free plan which is a great amount for those starting out! Probably by the time you reach that threshold you should be on your way to unlocking more. Until then, you can collect subscribers and managed them through the incredible dashboard from within your account, not losing track of how your landing page is performing!
Step-by-step tutorial (5 min)
Enough talk, it is time to get our hands dirty (in code). Now I'll show you how you can integrate a ConvertKit sign-up form within your app or website in just a matter of minutes!
Step #1 - Create a Sign Up form
On your own dashboard, on the Landing Pages & Forms page, click on "Create New".

On the following pages, choose Form, and then we are going to be implementing an Inline form. On the next page, you can select any theme of your liking to use as a template for the form (you can edit it later). I'm choosing "Clare" for this example.
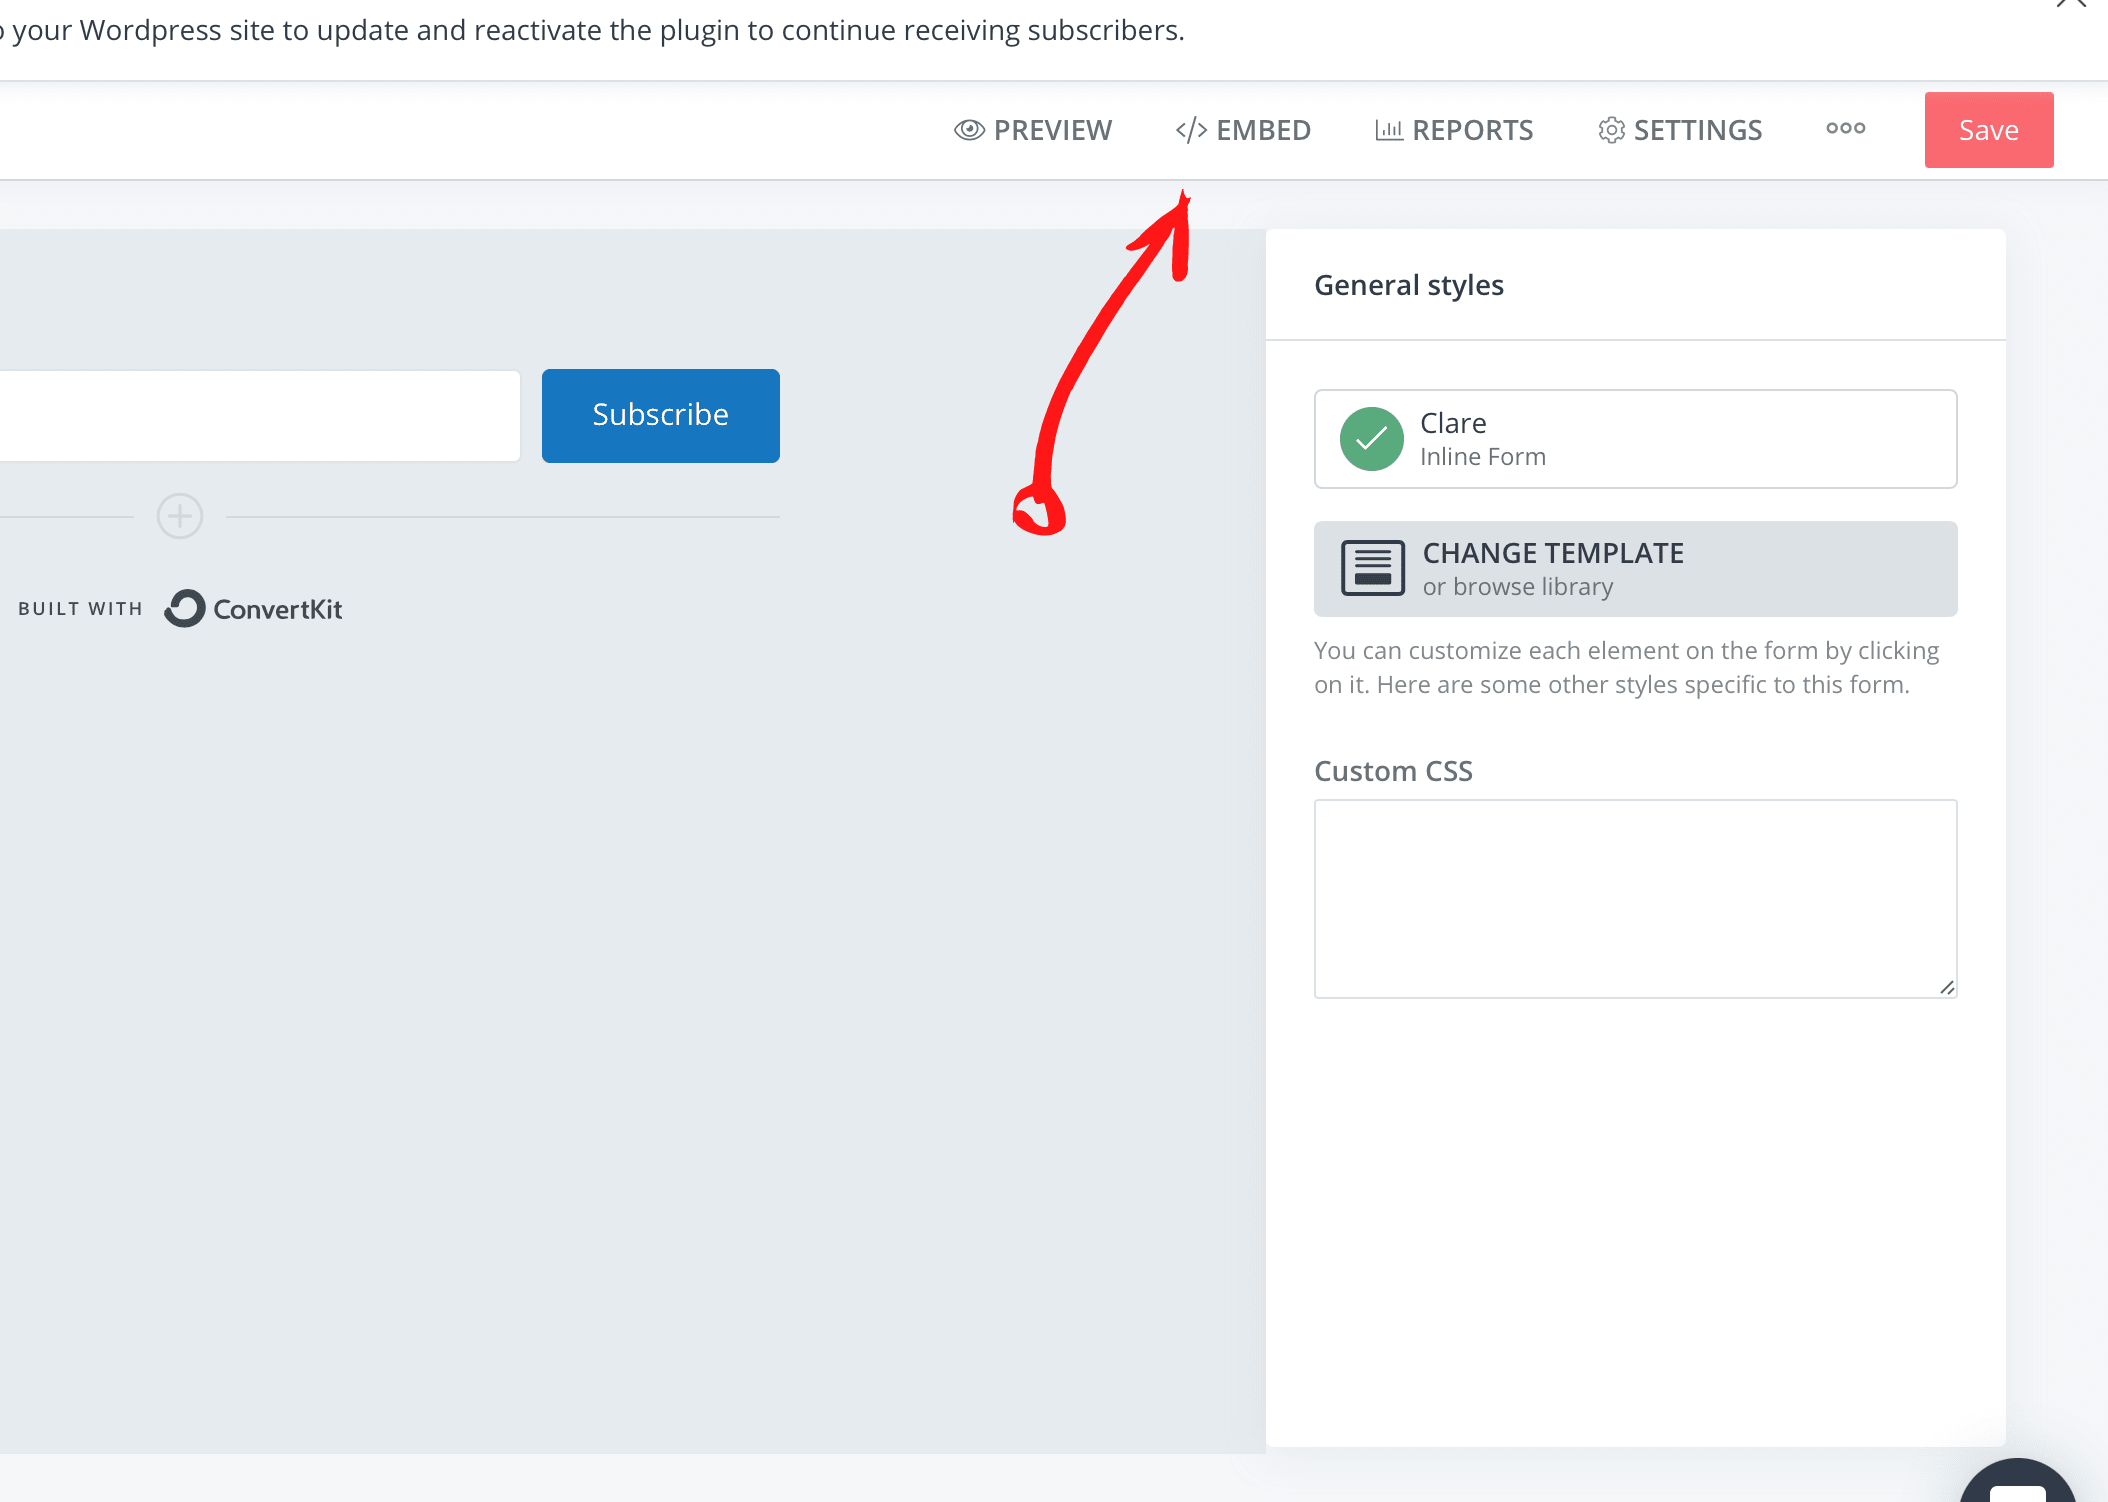
On the form editor, everything is customizable from the buttons text, and colors to adding more fields and inserting your own custom CSS onto it.
Step #2 - Copy your Creation
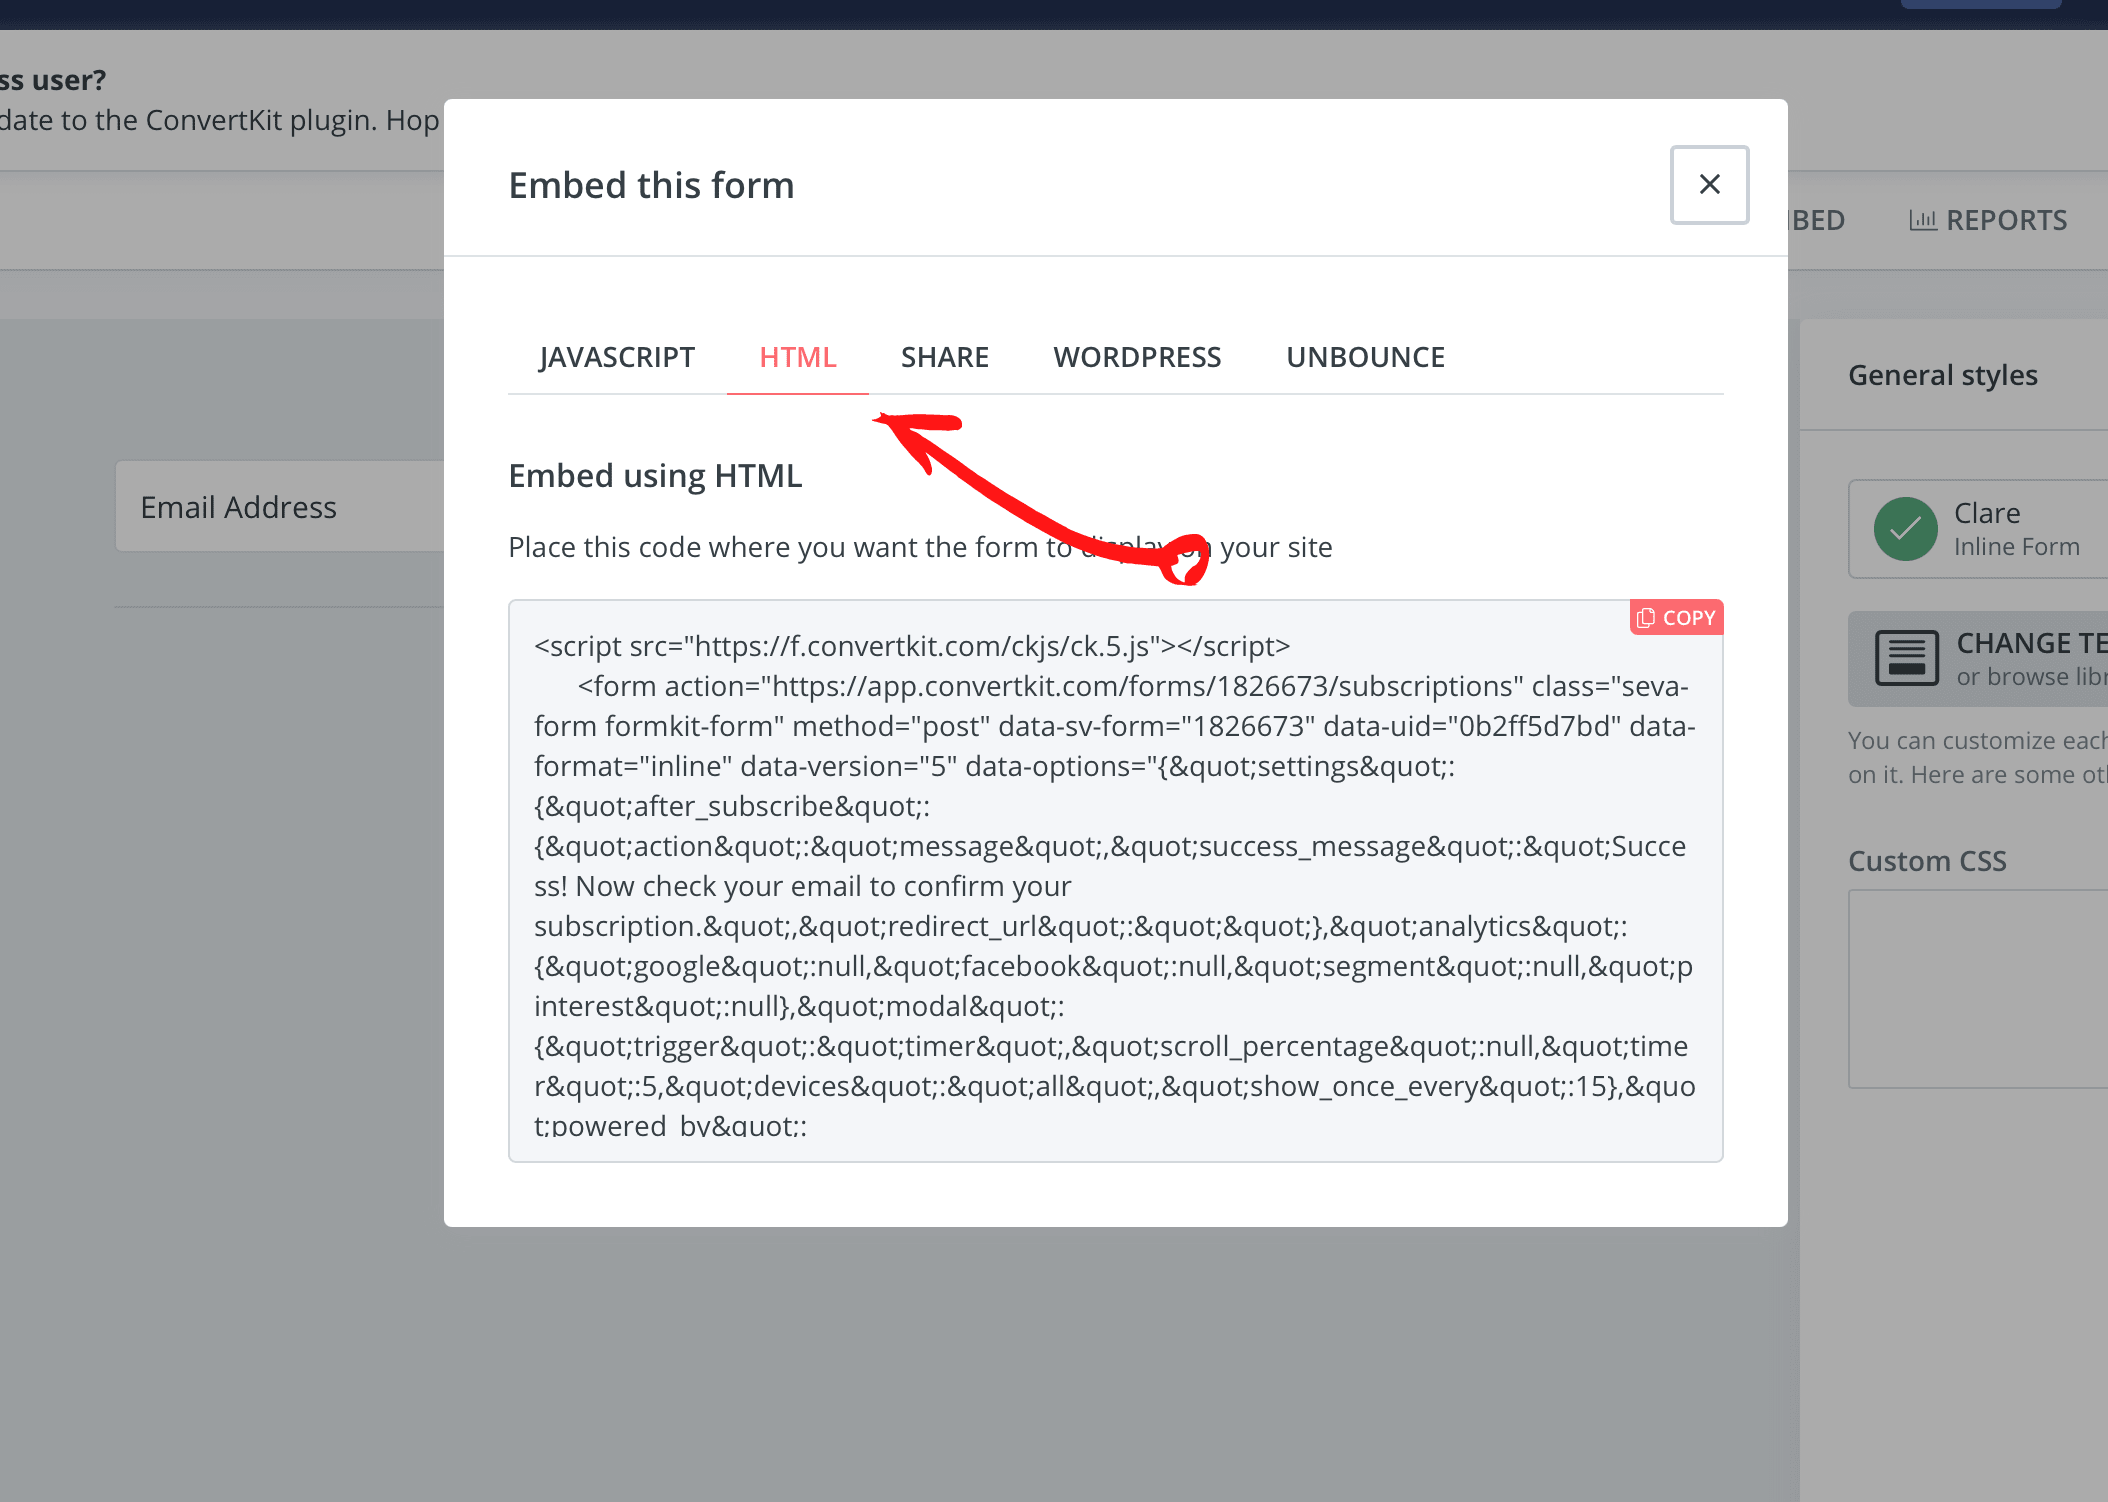
Once you are happy with the result, click on Embed at the top and then select the HTML tab and copy all the content inside.
Step #3 - Add the Form to your Website
Now, this step is divided into two parts. First, you need to add the <script> tag and its content to the body of HTML file where this form will be placed, right at the bottom. It should look something like the image below:
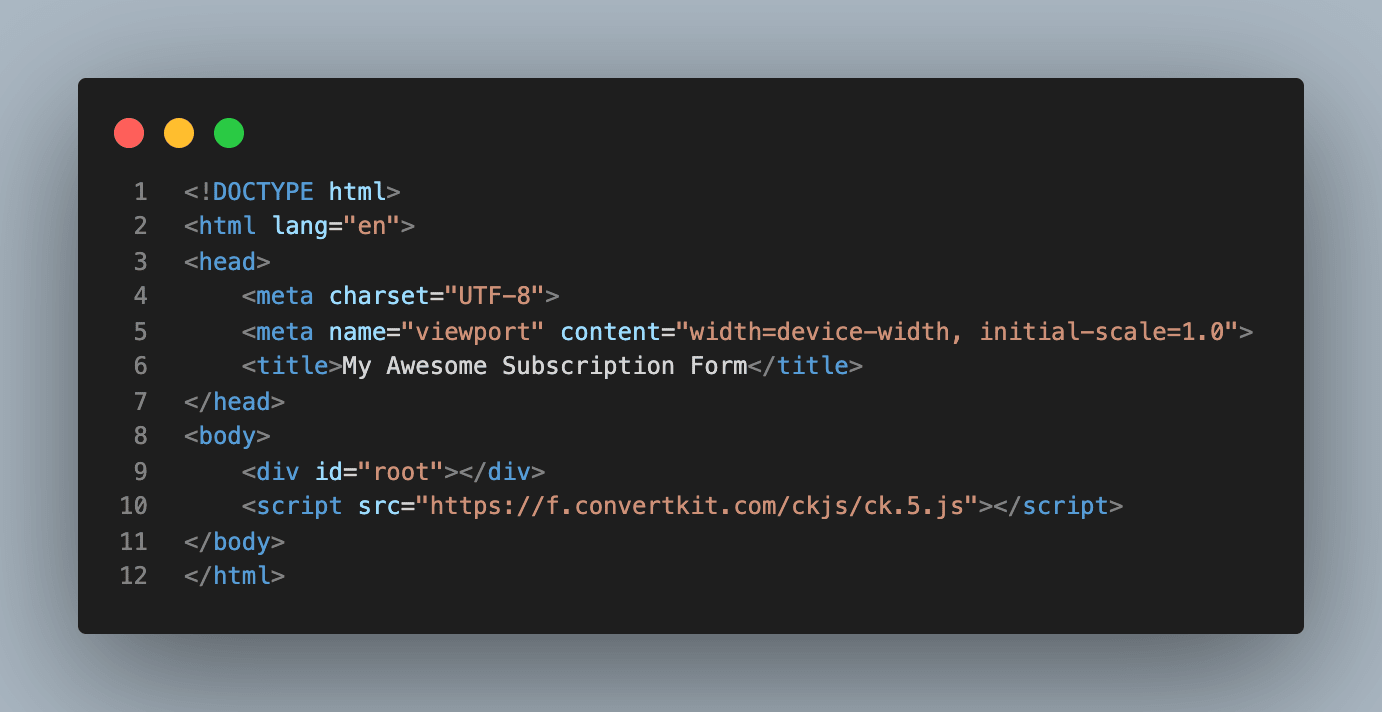
Now that the script was added, the form will be able to communicate back to ConvertKit and submit the subscribers' data correctly.
All that's left now is to add the <form> tag and all its contents to that page's body and you are ready to go! To add some styling you can write CSS as normal using the right selectors for the resultant HTML.
Note: if you are using React, you have to adapt the HTML to JSX syntax where, for example, <input> tags must always be closed with an '/'.
Final Results
You can see the live demo here and check out the source code at GitHub.
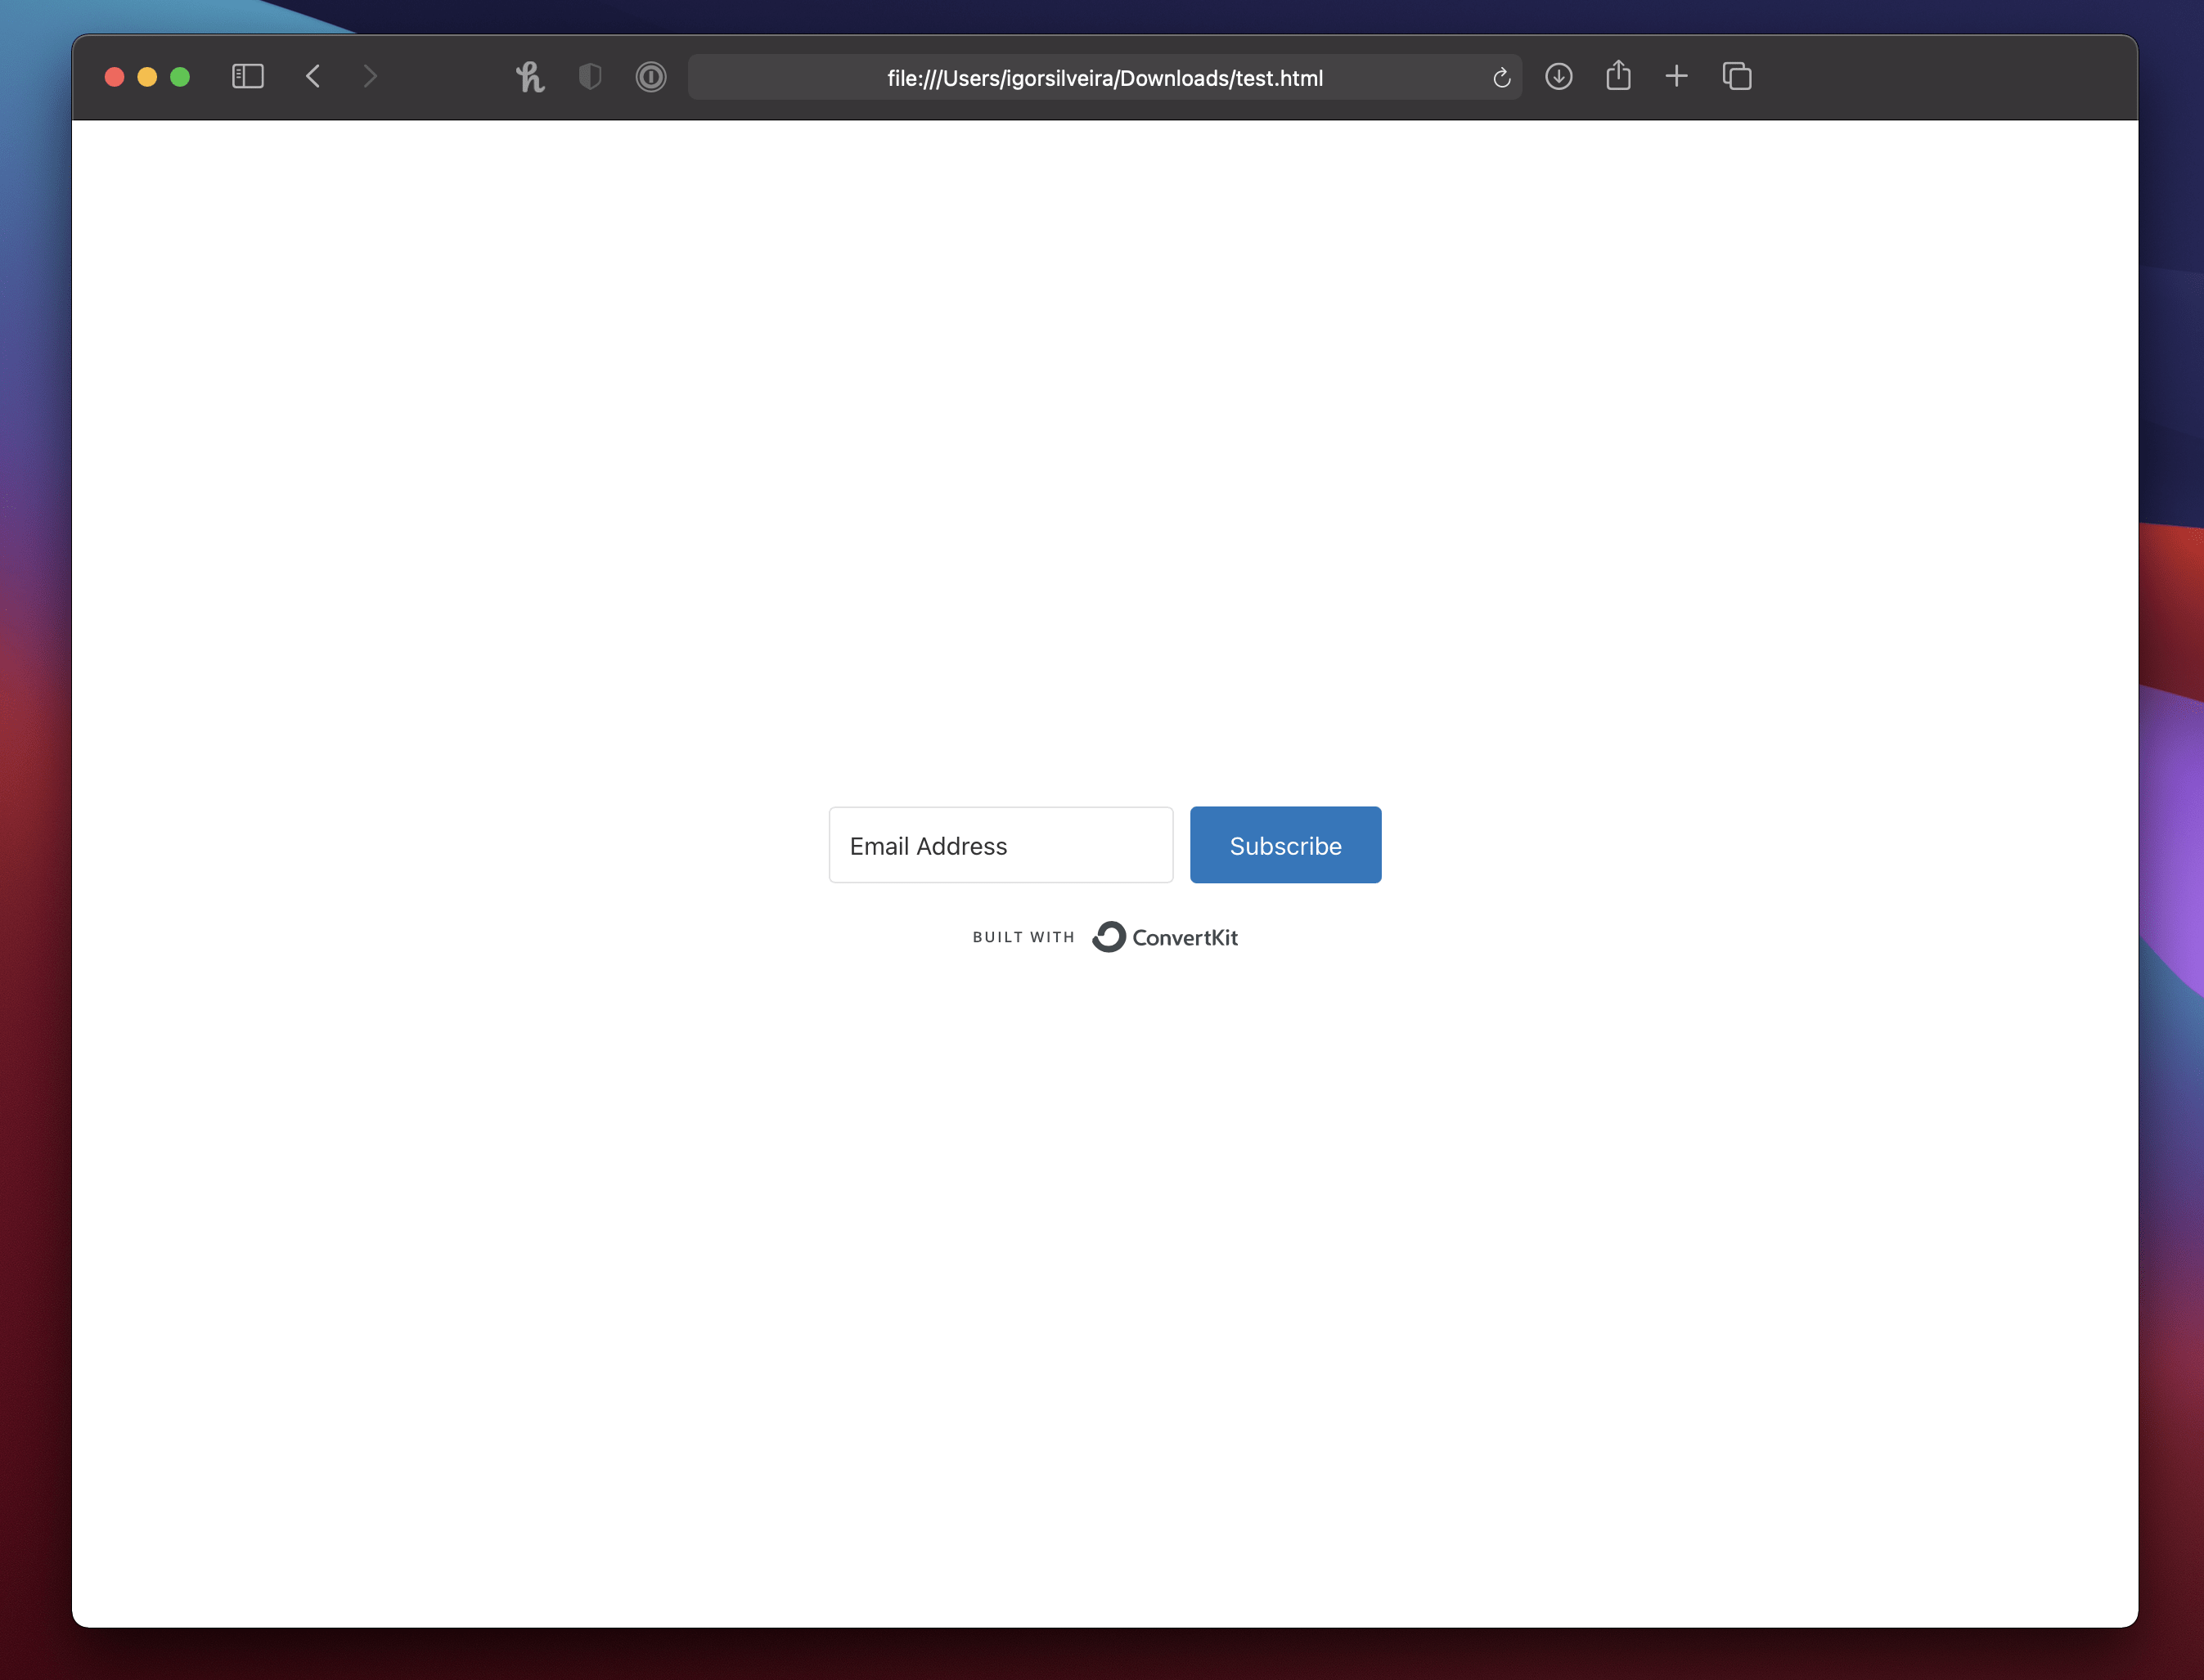
Hopefully, by the end of reading this, you should have a simple little page just like this. If not, feel free to reach out to me!