
A Comprehensive Guide to NextJS Dynamic Routing
On this issue, we will be learning about how Next.js allows us to easily create infinite dynamic pages from a single React component.


This article is part of an entire Next.js series of articles that I am putting together to help you become a Next.js pro and start building blazing-fast React apps.
💡 If you don’t want to miss out on any of the tutorials, signup for my newsletter by clicking here or head over to DailyDev.io for more.
On this issue, we will be learning about how Next.js allows us to easily create dynamic pages from a single React component following.
So let’s get started!
Pre-requisites
- Node ≥ 12
- React Basics
Quick Recap
The last time we were here, we created a basic web app to better understand the basics of how to build an app with Next.js.
We introduced the concept of pages and how Next.js expects us to scaffold our application and our React components in order for it to automatically create and manage page URLs and transitions.
If you missed that introductory issue, I highly recommend you to check it out before continuing.
Pages
In Next.js, every page is a React Component that is exported from a file that lives in the /pages directory at the root of your project. The name of the file dictates the route it will be associated with, including the folder(s), if any, that the React Component is living in.
/pages/index.tsxmaps to the/route (special files)/pages/dogs/a-doggo.tsxmaps to the/dogs/a-doggo.tsxroute.
The new file's contents can be anything you wish, as long as it exports a default React Component that renders some JSX that Next.js can then render as HTML.
Generating our Project
To kick this off, we will create our Next.js project to host this app by running this command in the directory you wish to store all of your awesome Next.js projects.
npx create-next-app nextjs-dynamic-routing --use-npm --typescript -e https://github.com/igorasilveira/blog-examples/tree/main/nextjs-basic-routing
A breakdown of what we just did:
npx- is a command-line interface tool that makes it easy to execute npm packages without actually installing them on your own machine.create-next-app- our best friend, will scaffold a perfectly balanced Next.js app for you.nextjs-dynamic-routing- this is the name I decided to give my project, feel free to mix it up a bit.--use-npm- this flag specifies that we want to use NPM as our dependency manager.--typescript- this flag tells the scaffolding tool that we want to generate a TypeScript project and it initializes all required dependencies (this is more of a personal preference of mine - ❤️ TypeScript).-e- this option specifies an example to bootstrap the app with. In this case, we are using the GitHub repository from the previous issue so that we can continue building our app from where we left off.
Running our App
Our Next.js project has been created and all dependencies automatically installed. We can now run it and see our app come to life! To do so, in the same terminal we used to generate the project, we now cd into our project folder and run the following command to start our project in development mode.
npm run dev
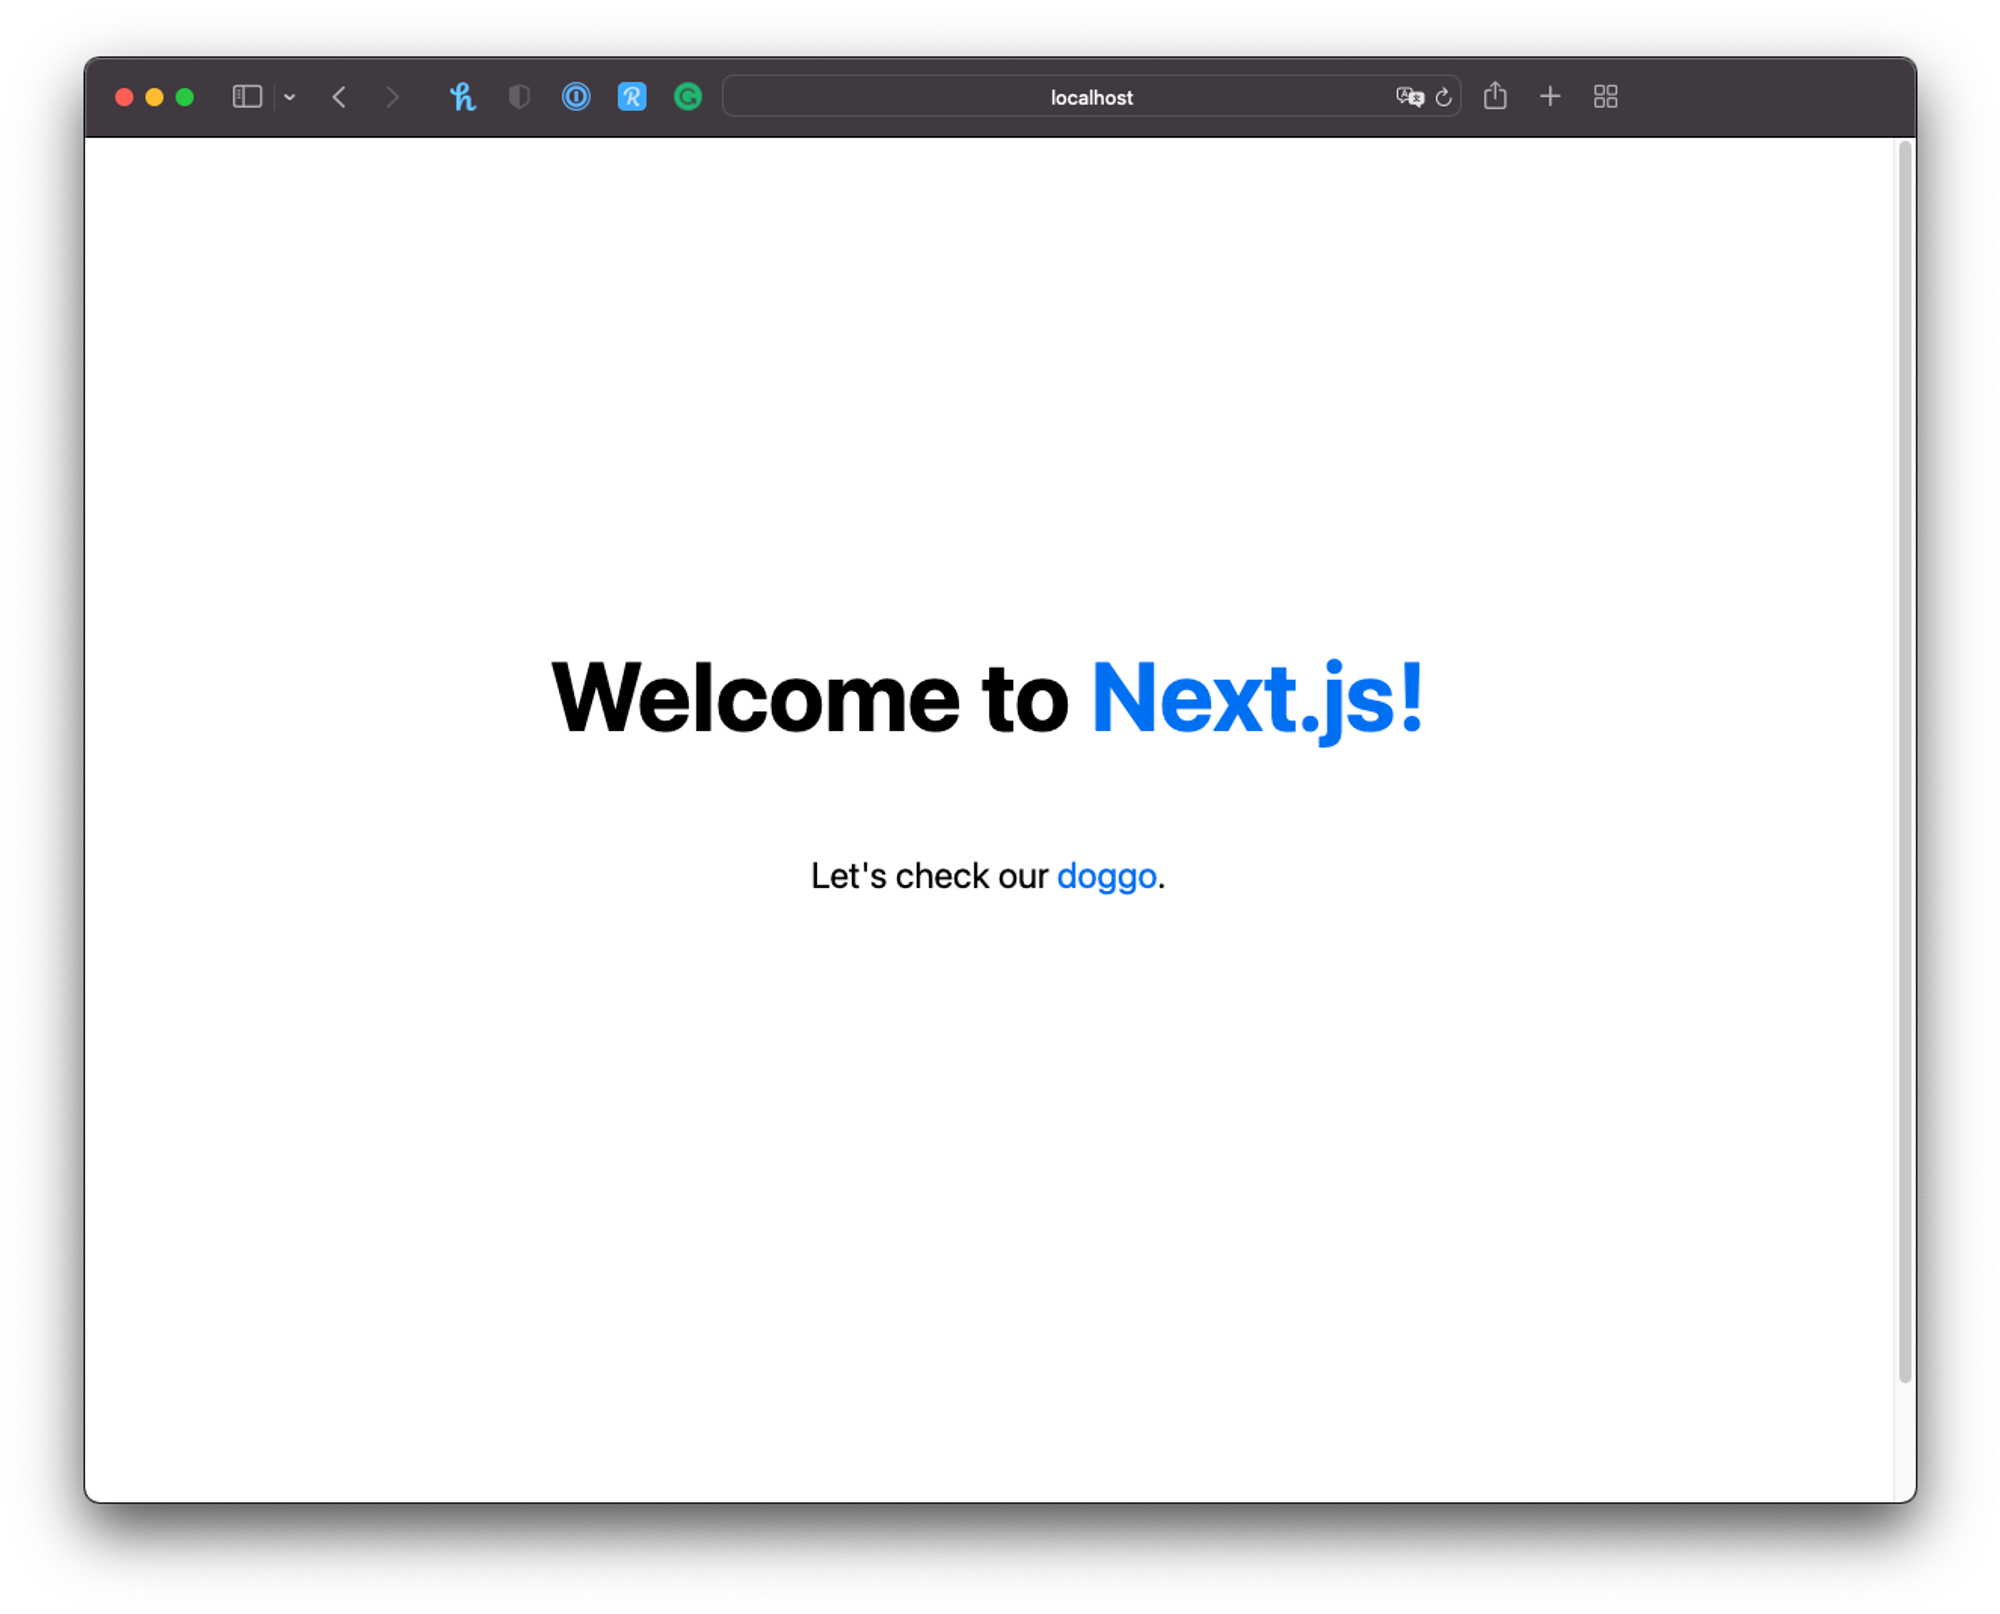
After a couple of seconds, your Next.js app server is launched (hopefully with success) and you can now navigate to http://localhost:3000 and check our doggo-based app! 🐶
Dynamic Routing
Now that we have our application up and running, let’s learn more about what is dynamic routing, why we need it, and how Next.js will handle it for client-side rendered pages.
Why Do We Need It
Predefined path-based routes like we used in our last tutorial are not always the best choice for large complex and dynamic applications.
If we would keep to the previous approach, it would involve creating a React component each time we wanted to create a new page, which would require the application’s developers to create new code, push it to the main branch and then deploy the changes to production. This is not only a CI/CD nightmare as it is also the recipe for duplicated spaghetti code.
For example, in our doggo app, every time we want to add a new dog page to the application, we don’t want to duplicate the previous component and make the necessary changes to reflect the new addition, especially since all our doggos pages render exactly the same structure. This is a perfect use case for component reusability.
Component Reusability
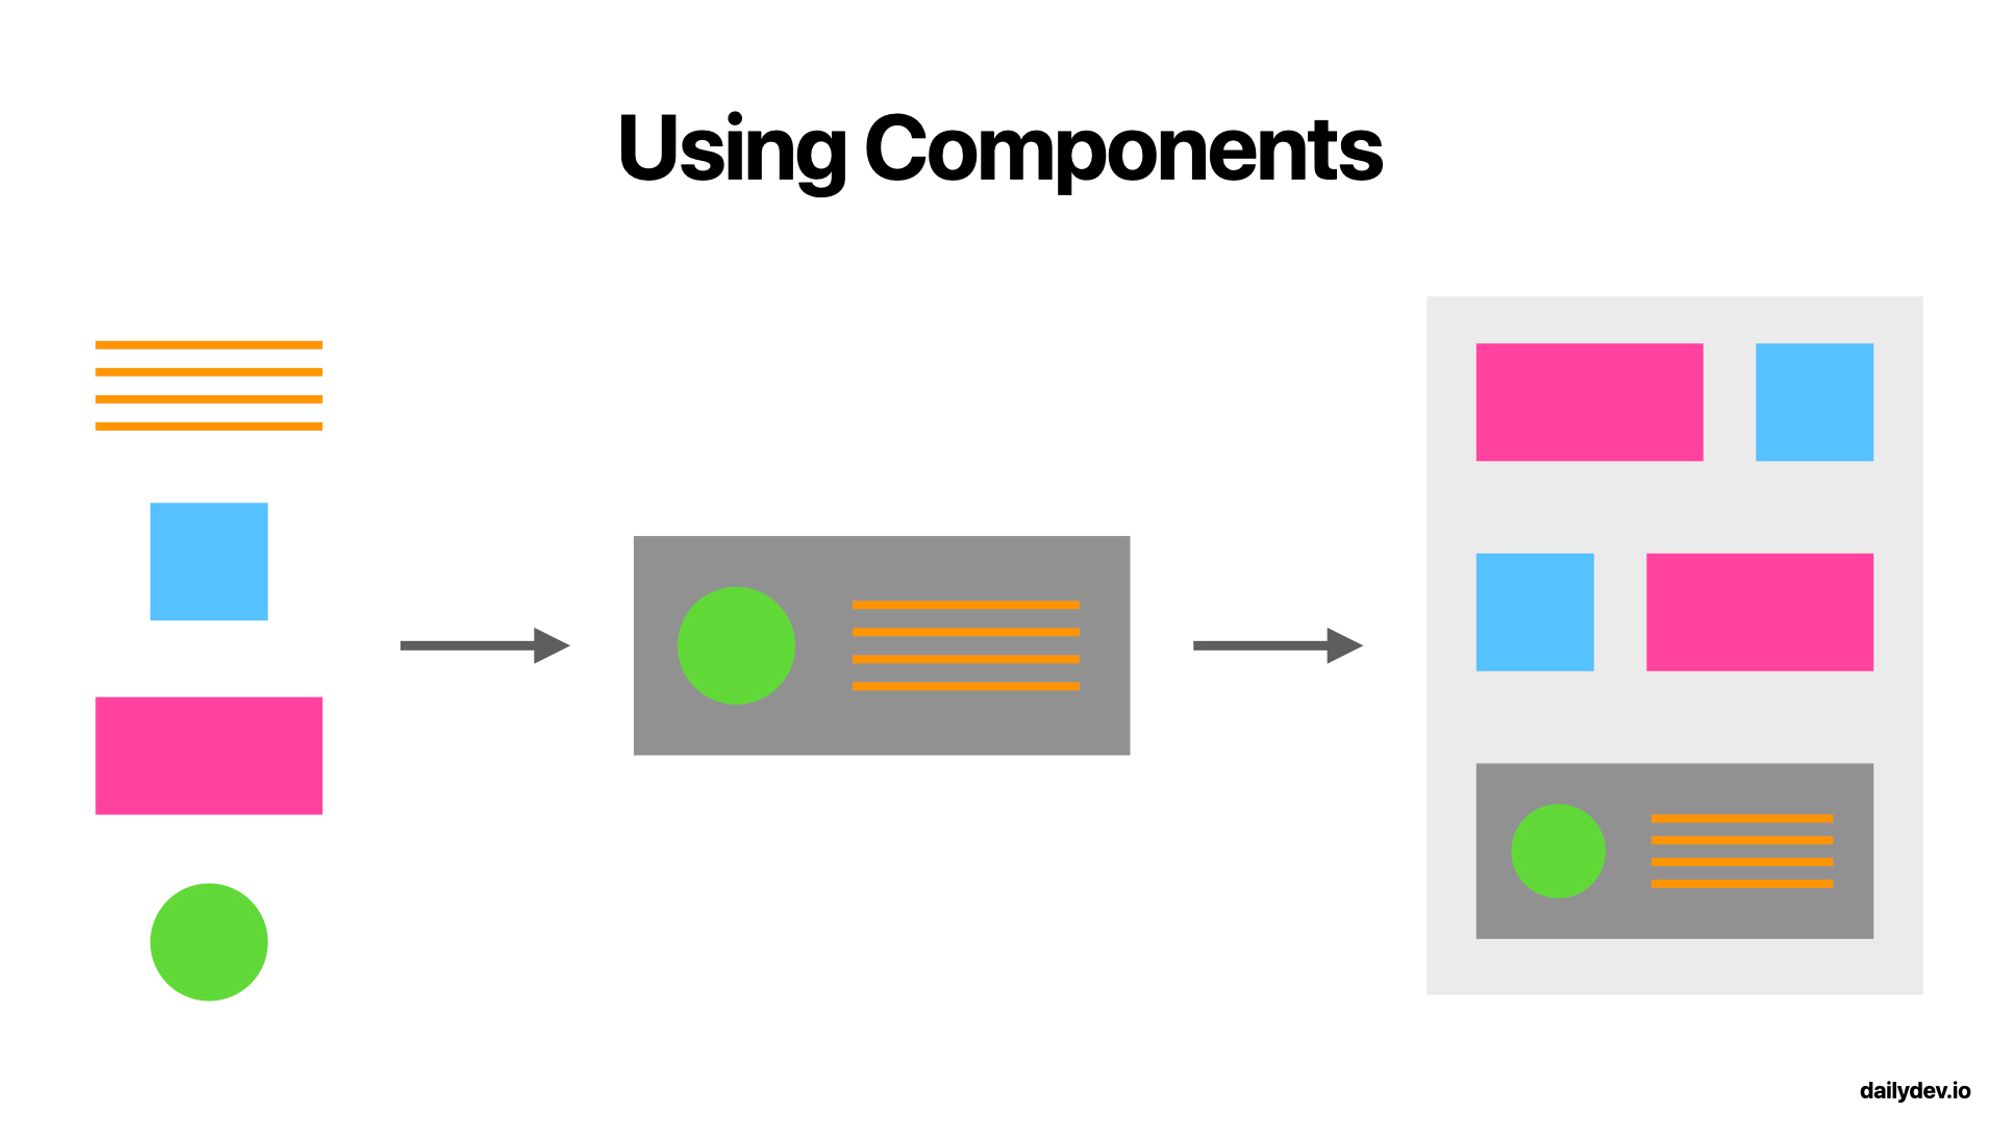
If you’ve used Components before in your web journey, you are already familiar with their benefits.
Components allow you to define the common application’s structures that you can then easily reuse without the need to re-write their appearance and behavior. You then arrange those components in any way you wish to former larger, more complex components that eventually become the pieces that build full application pages. If later you wish to change that structure, design, or functionality, you only need to update the components you want and those changes will reflect everywhere they are used.
How Next.js Handles It
In Next.js you can do just that (as with any modern web framework) and by the end, you have a reusable page for your application just from a single exported React Component. Later, if you need to change every doggo page in your app, you will only need to update ONE component in a single file.
In order to generate dynamic (reusable) pages, there are a couple of changes and additions we need to make to our previous React Component so that Next.js can understand that it is in fact a dynamic route and not a static one.
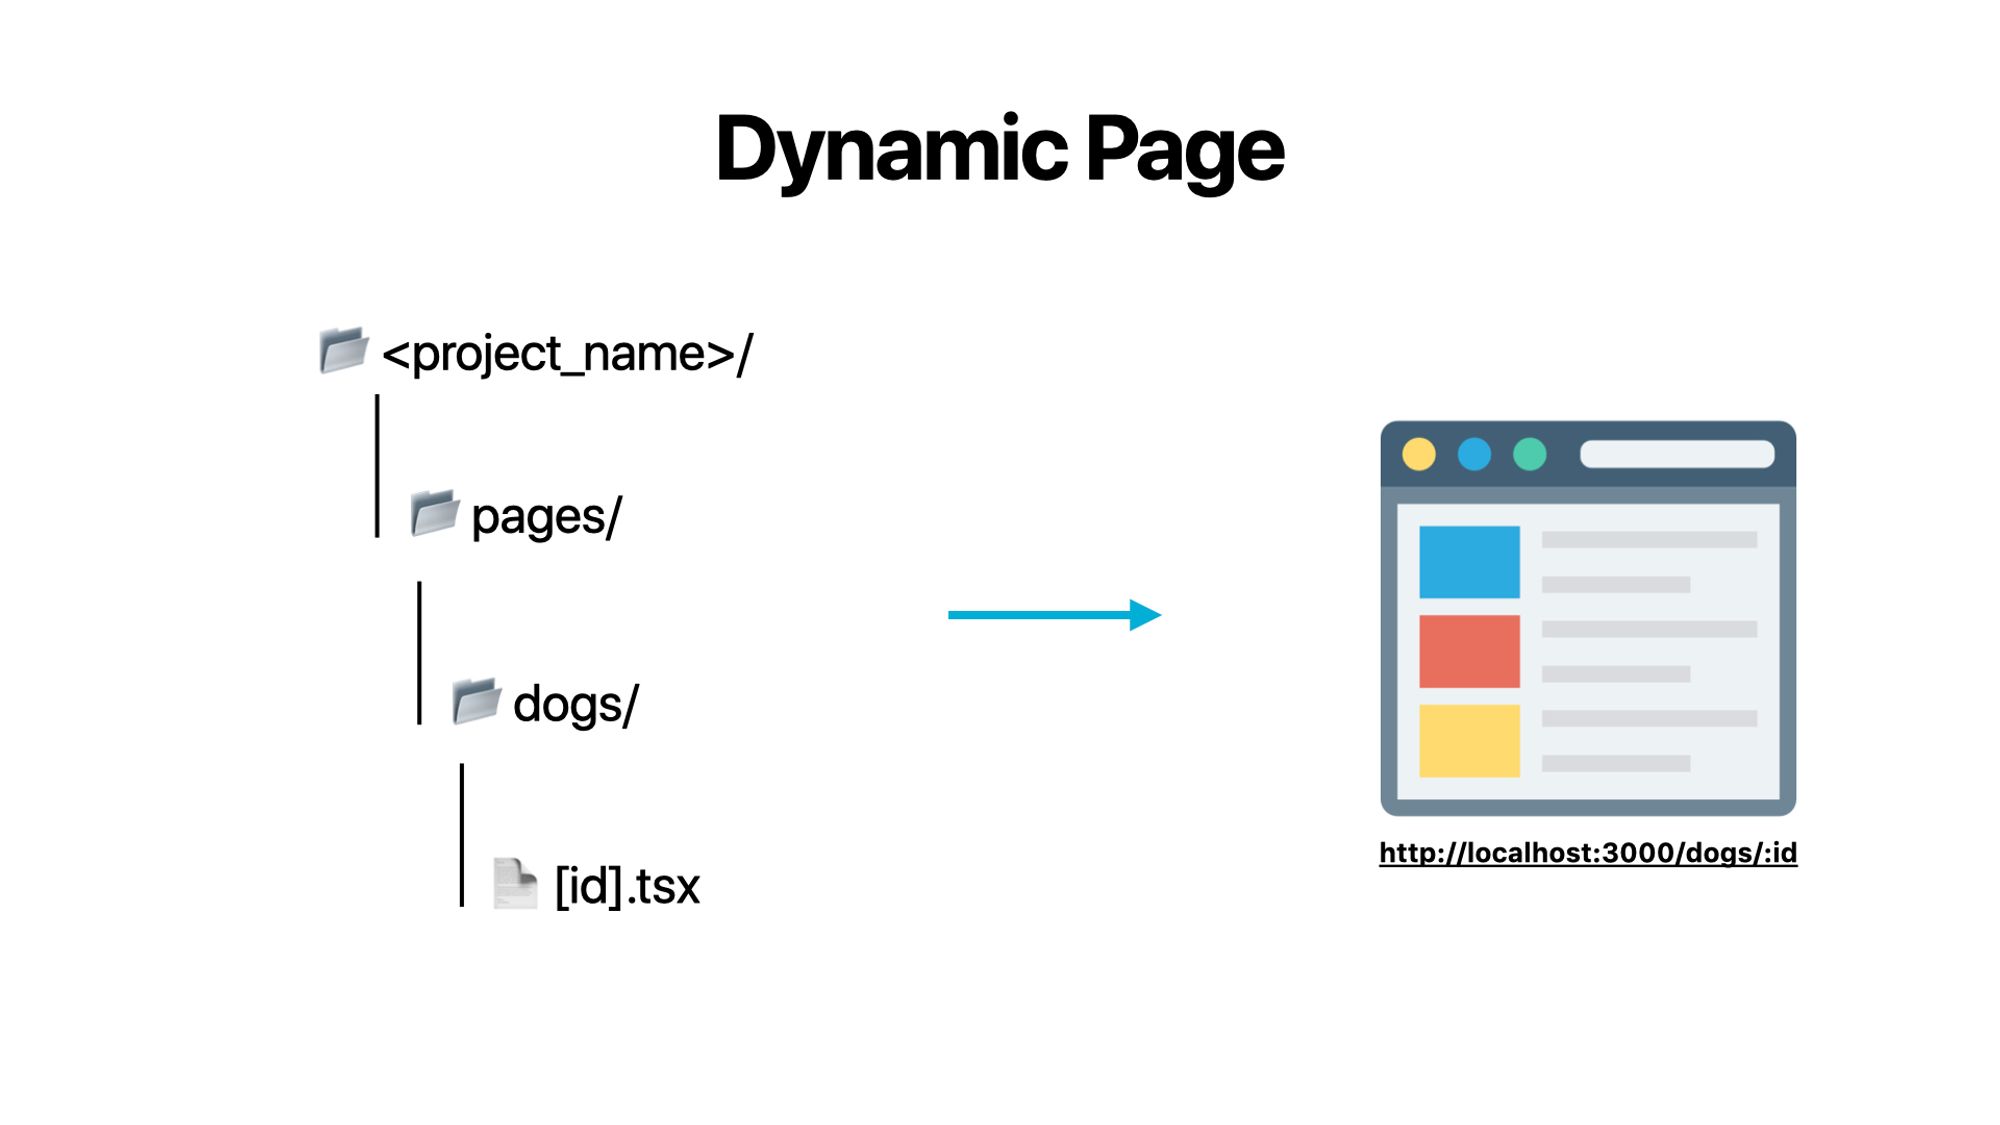
It all starts with the filename within the pages folder, same as before, but this time with a twist. Dynamic (reusable) pages will be exported from special named files surrounded by brackets ([param]). The rest of the route is still defined by the folder hierarchy as we talked about in the previous article. Let’s take a look at some examples:
pages/dogs/[id].tsx→/dogs/:id(/dogs/123)pages/post/[...all].tsx→/post/*(/post/2020/id/title)
If we consider the first example, pages/dogs/[id].tsx, any route matching the /dogs/:id pattern will be rendered by the React Component exported by the special [id].tsx page within the pages/dogs directory, such as /dogs/123 and /dogs/russel.
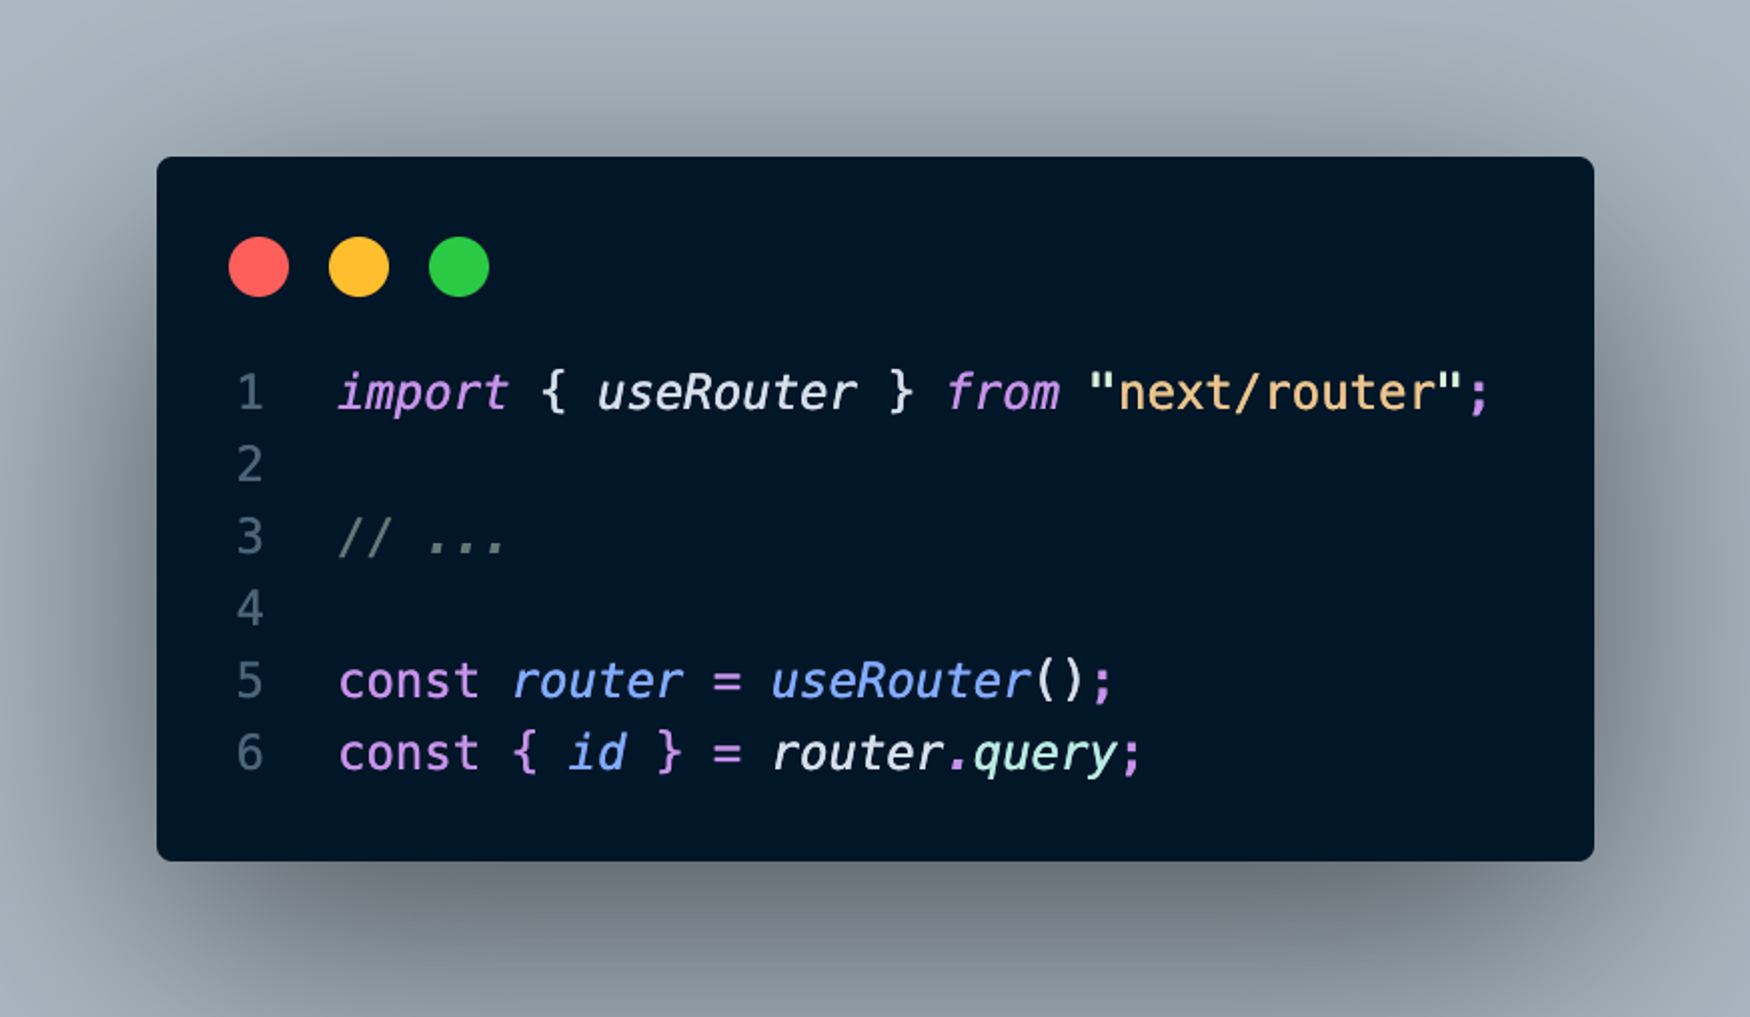
To access the dynamic part of the route (the id in this case), we can access the Next.js Router directly and get it through the query object. In the example of /dogs/russel, the query object would be the following:
{ "id": "russel" }
And to access it within your React Component you would use the provided Next.js hook useRouter.
Updating our Doggo App
Let’s consider our dog app we build in the first tutorial, where we have a file exporting a React Component for each dog:
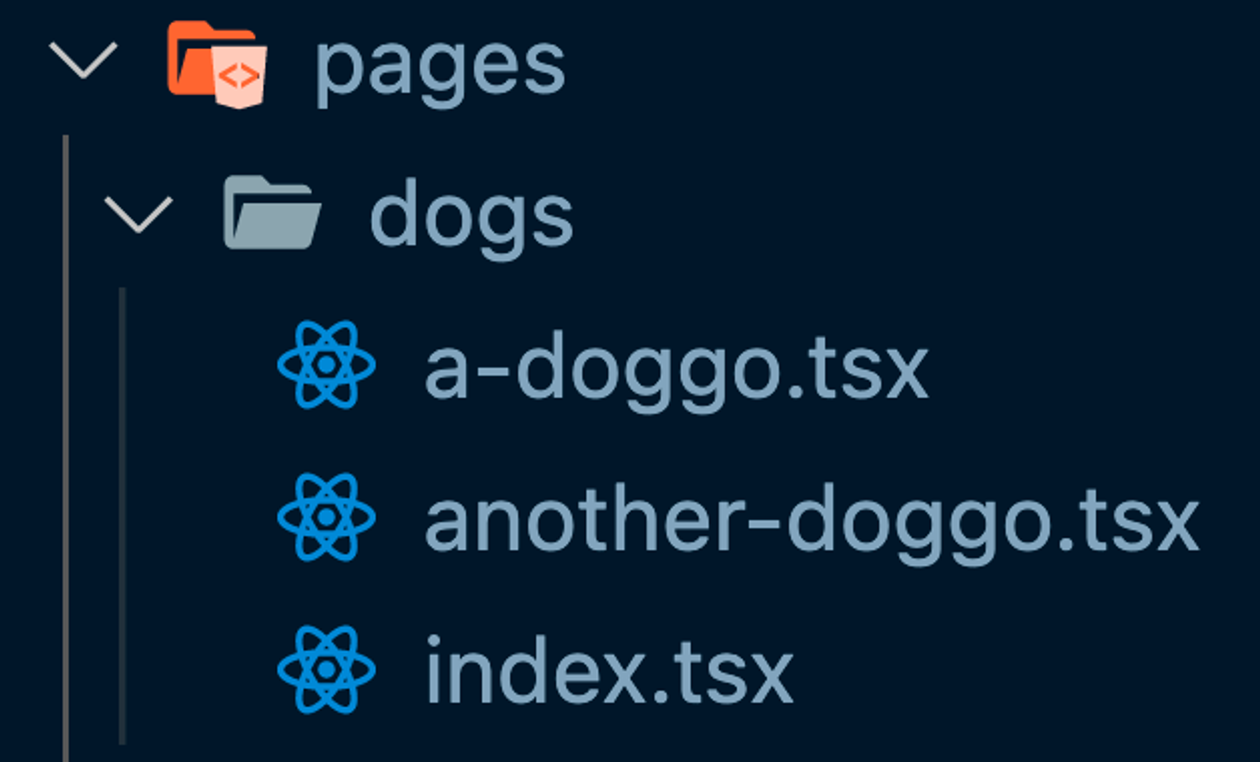
You can see how this can quickly become a nightmare to manage once we get into the dozens on hundreds of dogs. So let’s instead use Dynamic Routing to only have to manage a single file.
Creating the Special [id].tsx File
In order to preserve the previous structure of our doggo pages but still refactor to use Dynamic Routing, we can simply rename one of the files to [id].tsx and delete all the other ones where a single dog is rendered. We can keep the index.tsx file, as it serves a different purpose and will not match the dynamic route we are creating anyway.
So the end result should be something as clean as this:

Now every /dogs/:id route will be rendered by that single [id].tsx file instead of requiring a file for each individual dog. Perfect!
Updating File Content
We can now make the changes to our newly updated special file so that we can actually see the dynamic id being passed on each page.
We will do this by accessing the id through the query object and then rendering it on screen by adding it to the previous h1 tag.
import type { NextPage } from "next";
import Head from "next/head";
import Image from "next/image";
import Link from "next/link";
import { useRouter } from "next/router";

const Doggo: NextPage = () => {
  const router = useRouter();  // -> Access Next.js Router here
  const { id } = router.query;

  return (
    <div>
      <Head>
        <title>A Doggo</title>
      </Head>

      <main>
                {/* // -> Render the id on the screen  */}
        <h1>This is Doggo: {id}.</h1>

        <Image
          alt="This is a doggo"
          src="https://loremflickr.com/520/520/dog"
          width={520}
          height={520}
        />
        <p style={{ color: "#0070f3" }}>
          <Link href="/">Back Home</Link>
        </p>
      </main>
    </div>
  );
};

export default Doggo;
Great! Now we can see different content on each dog page based on the route provided. How awesome is that? 😎
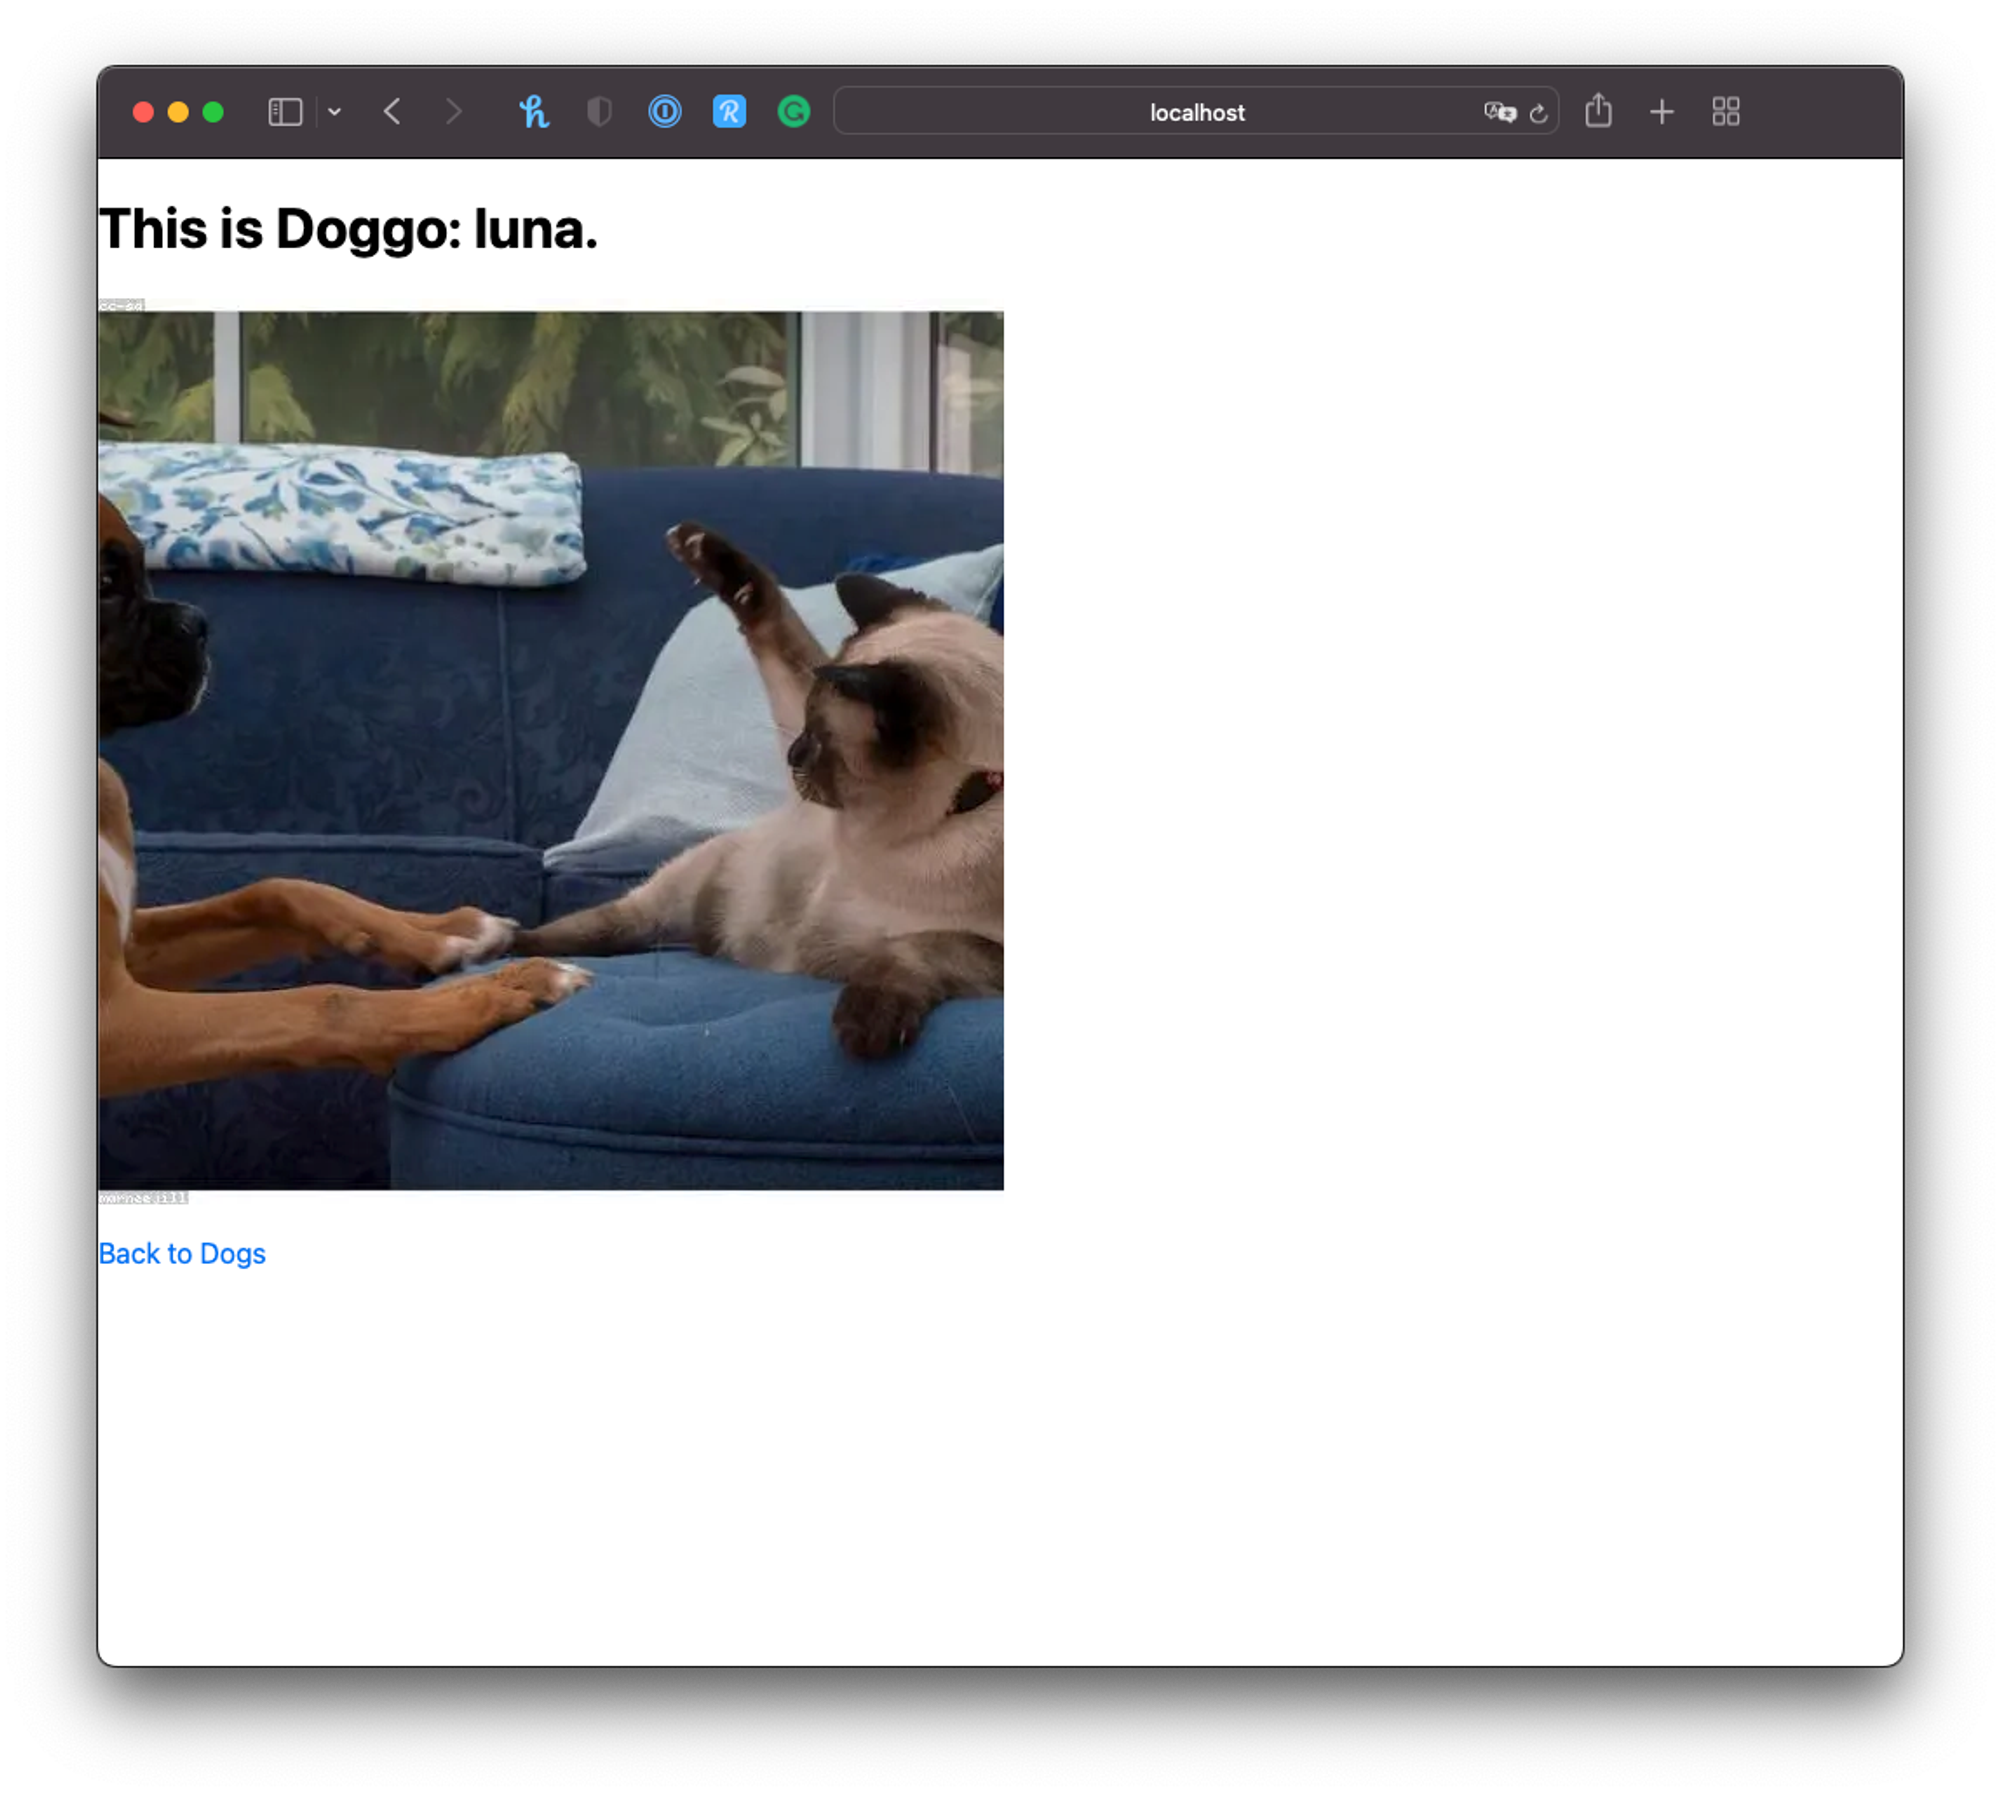
Final Result
After all your hard work, this is the expected outcome of your doggo app. Looking great already!
.gif?table=block&id=7c108d5f-e767-44fc-964e-45f75c8c4166&spaceId=a1132038-30f4-4c02-8dbb-44ea7cf0c715&userId=&cache=v2)
Final Remarks
Now that you have a working dynamic doggo app you can try and develop the individual dog page in order to dynamically fetch even more information given an id or test out creating new directories and more complex dynamic routes. If you run into any trouble feel free to reach out to me on Twitter, my DMs are always open.
Next Steps: Keep an eye out for my following Next.js tutorials where we will go over Statically Generated Dynamic Routes (the next step in performant dynamic webpages) and much more! If you don’t want to miss out on any of the tutorials, signup for my newsletter by clicking here.