
A Comprehensive Guide to NextJS Authentication with Auth0
Authentication plays a major role in all systems around the globe in securing an application of any sort. Let's implement it in NextJS.


Hello, my name is Igor and if by chance, you enjoy what I write, you may also like what I have to say on my Twitter profile, come and say 'Hi! 👋'.
In this article, I will show you how you can use Auth0 to secure your NextJS web application (including social login).
💡 You can find the repository here.
Pre-requisites:
- Node ≥ 12
- Basic NextJS knowledge
- React and React Hooks basic knowledge
What is Authentication?
Authentication plays a major role in all systems around the globe in securing an application of any sort.
Securing some resource or set of resources (physical or digital) is normally comprised of a two-step process, authenticating and authorizing some user of the system (human or machine).
Authentication - verifying who someone is within the system.
Authorization - checking which permissions a user has to access given resources and what rights to it (read, update, delete).
In this article, we will be focusing only on incorporating Authentication into our NextJS app and leave Authorization for a later article.
Creating a NextJS project
To create a new NextJS project, head over to your command line and cd into the folder you want your project to live on. NextJS will create the project within a new folder inside your current selected directory, so you don’t need to create the actual project folder, only a parent directory where you want it to be kept.
Run the following command to create your NextJS app and go through the creation wizard:
npx create-next-app@latest
Once the wizard has finished, cd into your newly created folder for your project and start the development environment.
cd auth0-app && npm run dev
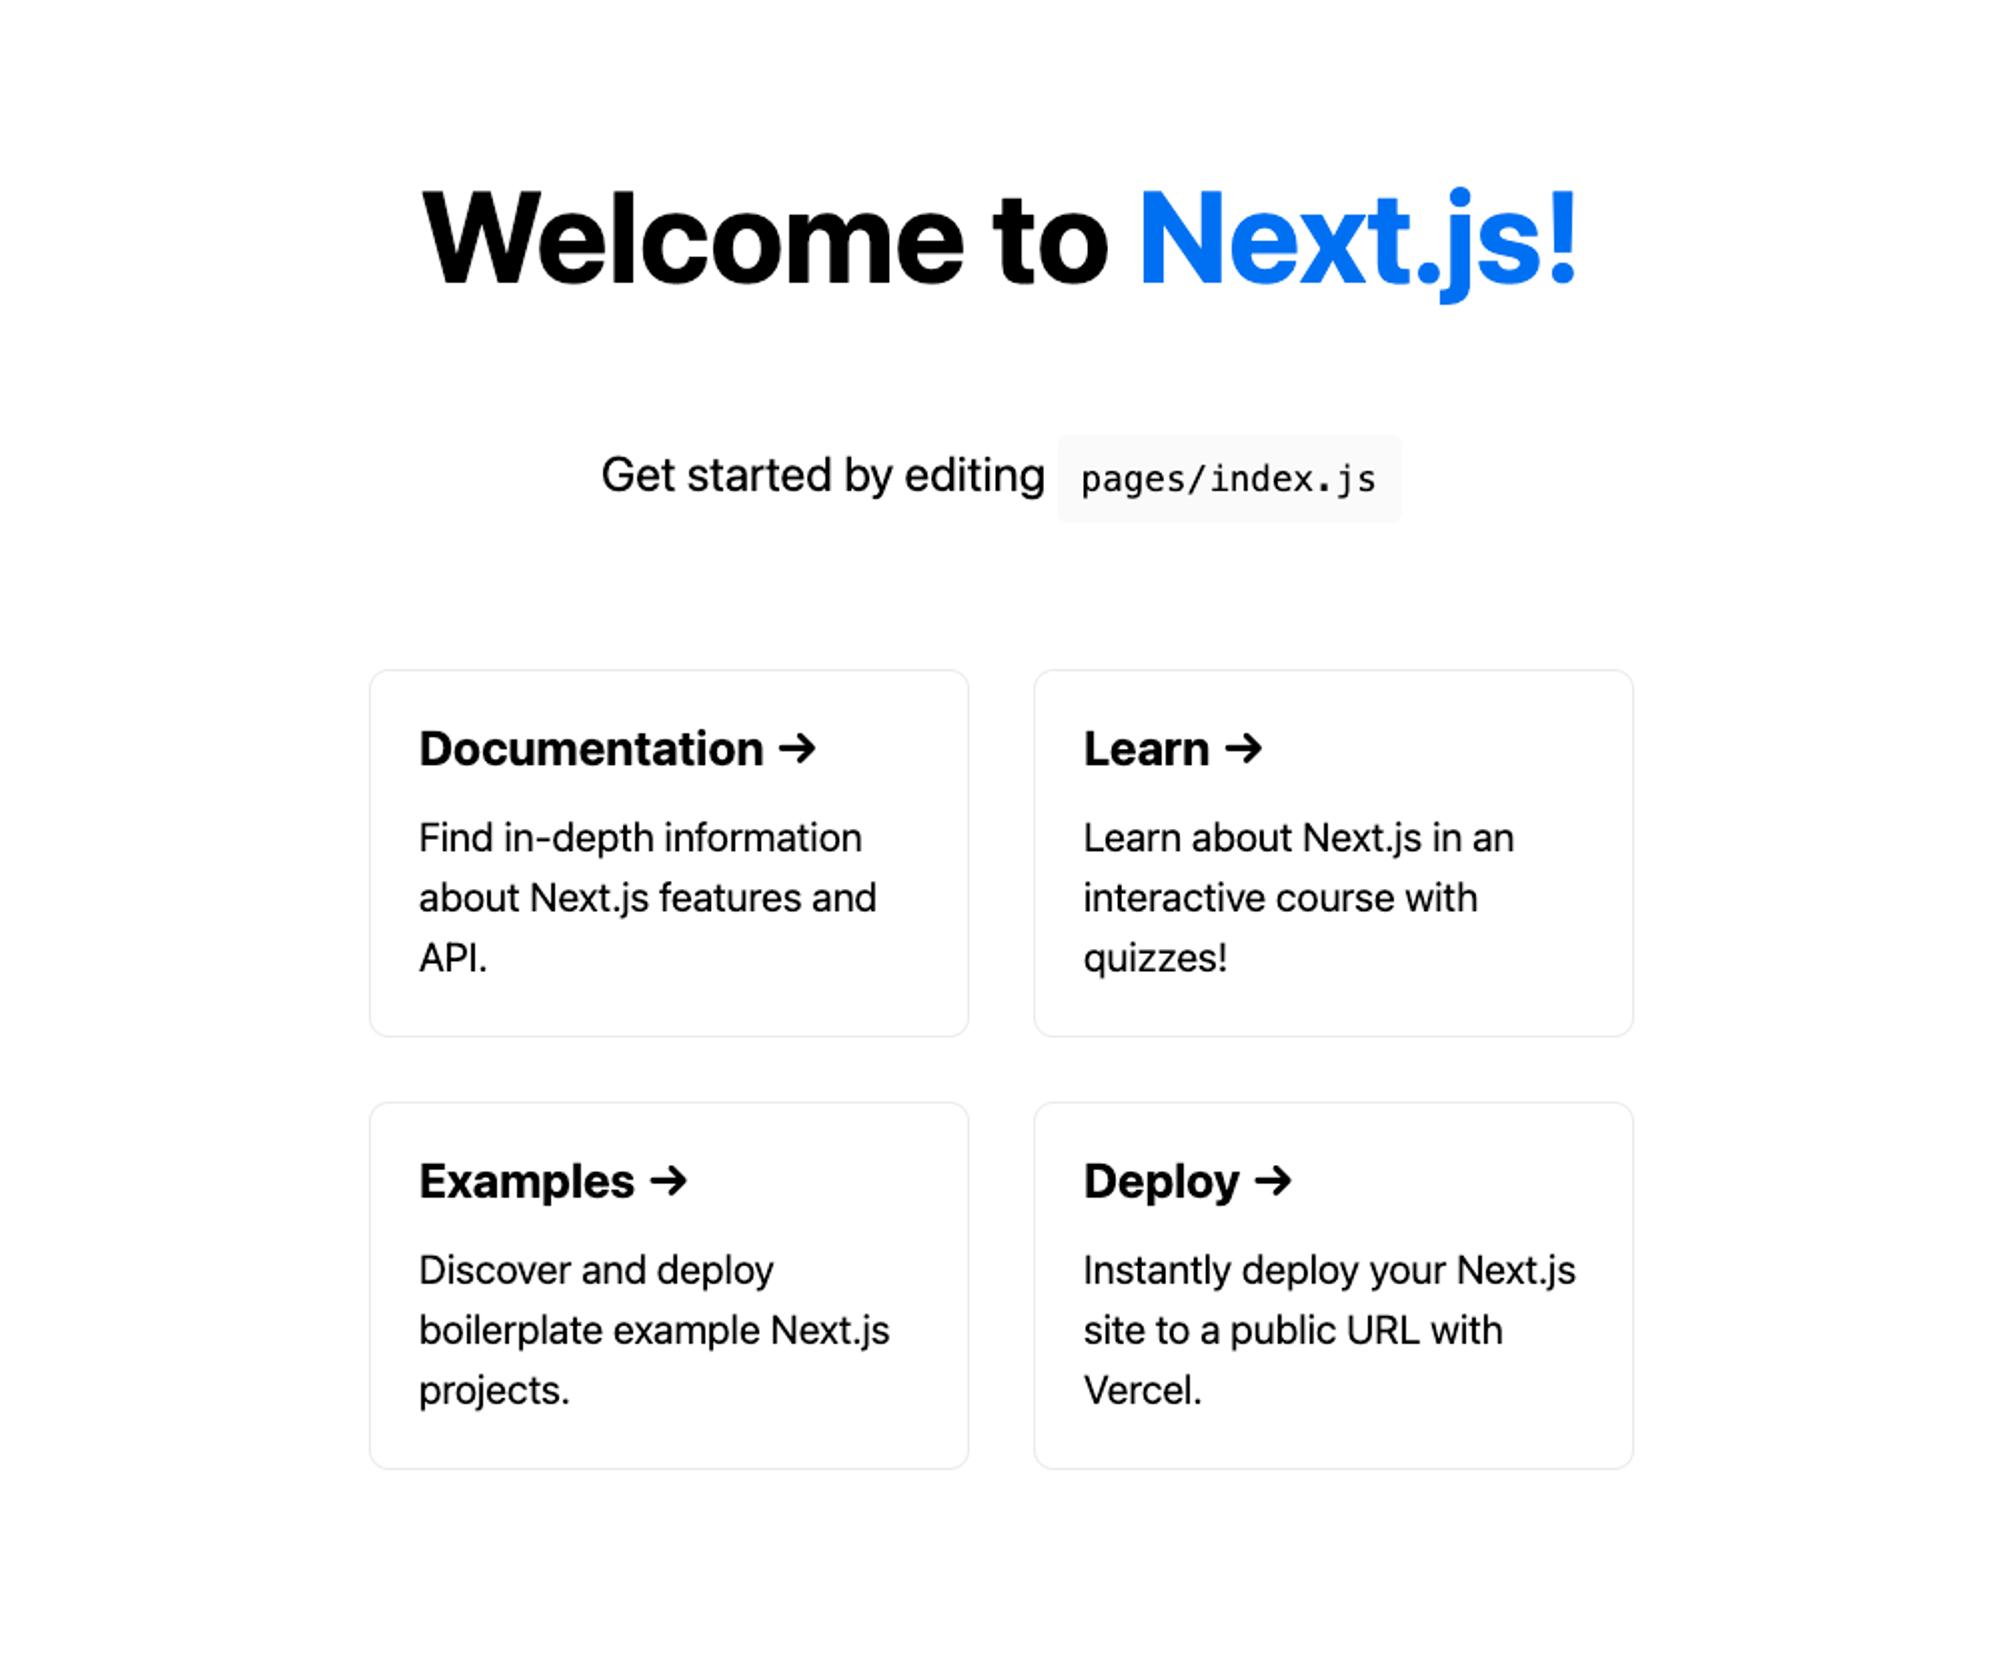
If all went well, you should be able to see the following page when you visit localhost:3000.
Creating new pages
Currently, there is only one page in our application, the index. We will be adding a new protected page that only logged-in users should be allowed to see but that at the moment will be visible to anyone since we have not yet implemented authentication into our app.
So in your /pages folder, create a new file protected.js and paste the following code. (We will be reusing the Homepage stylesheet for simplicity of this tutorial)
import Head from "next/head";
import Navbar from "../components/Navbar";
import styles from "../styles/Home.module.css";

export default function Protected() {
  return (
    <div className={styles.container}>
      <Head>
        <title>Protected page</title>
        <meta name="description" content="Generated by create next app" />
        <link rel="icon" href="/favicon.ico" />
      </Head>
      <Navbar />

      <main className={styles.main}>
        <h1 className={styles.title}>Welcome to a protected page.</h1>

        <p className={styles.description}>Here are your details</p>
      </main>
    </div>
  );
}
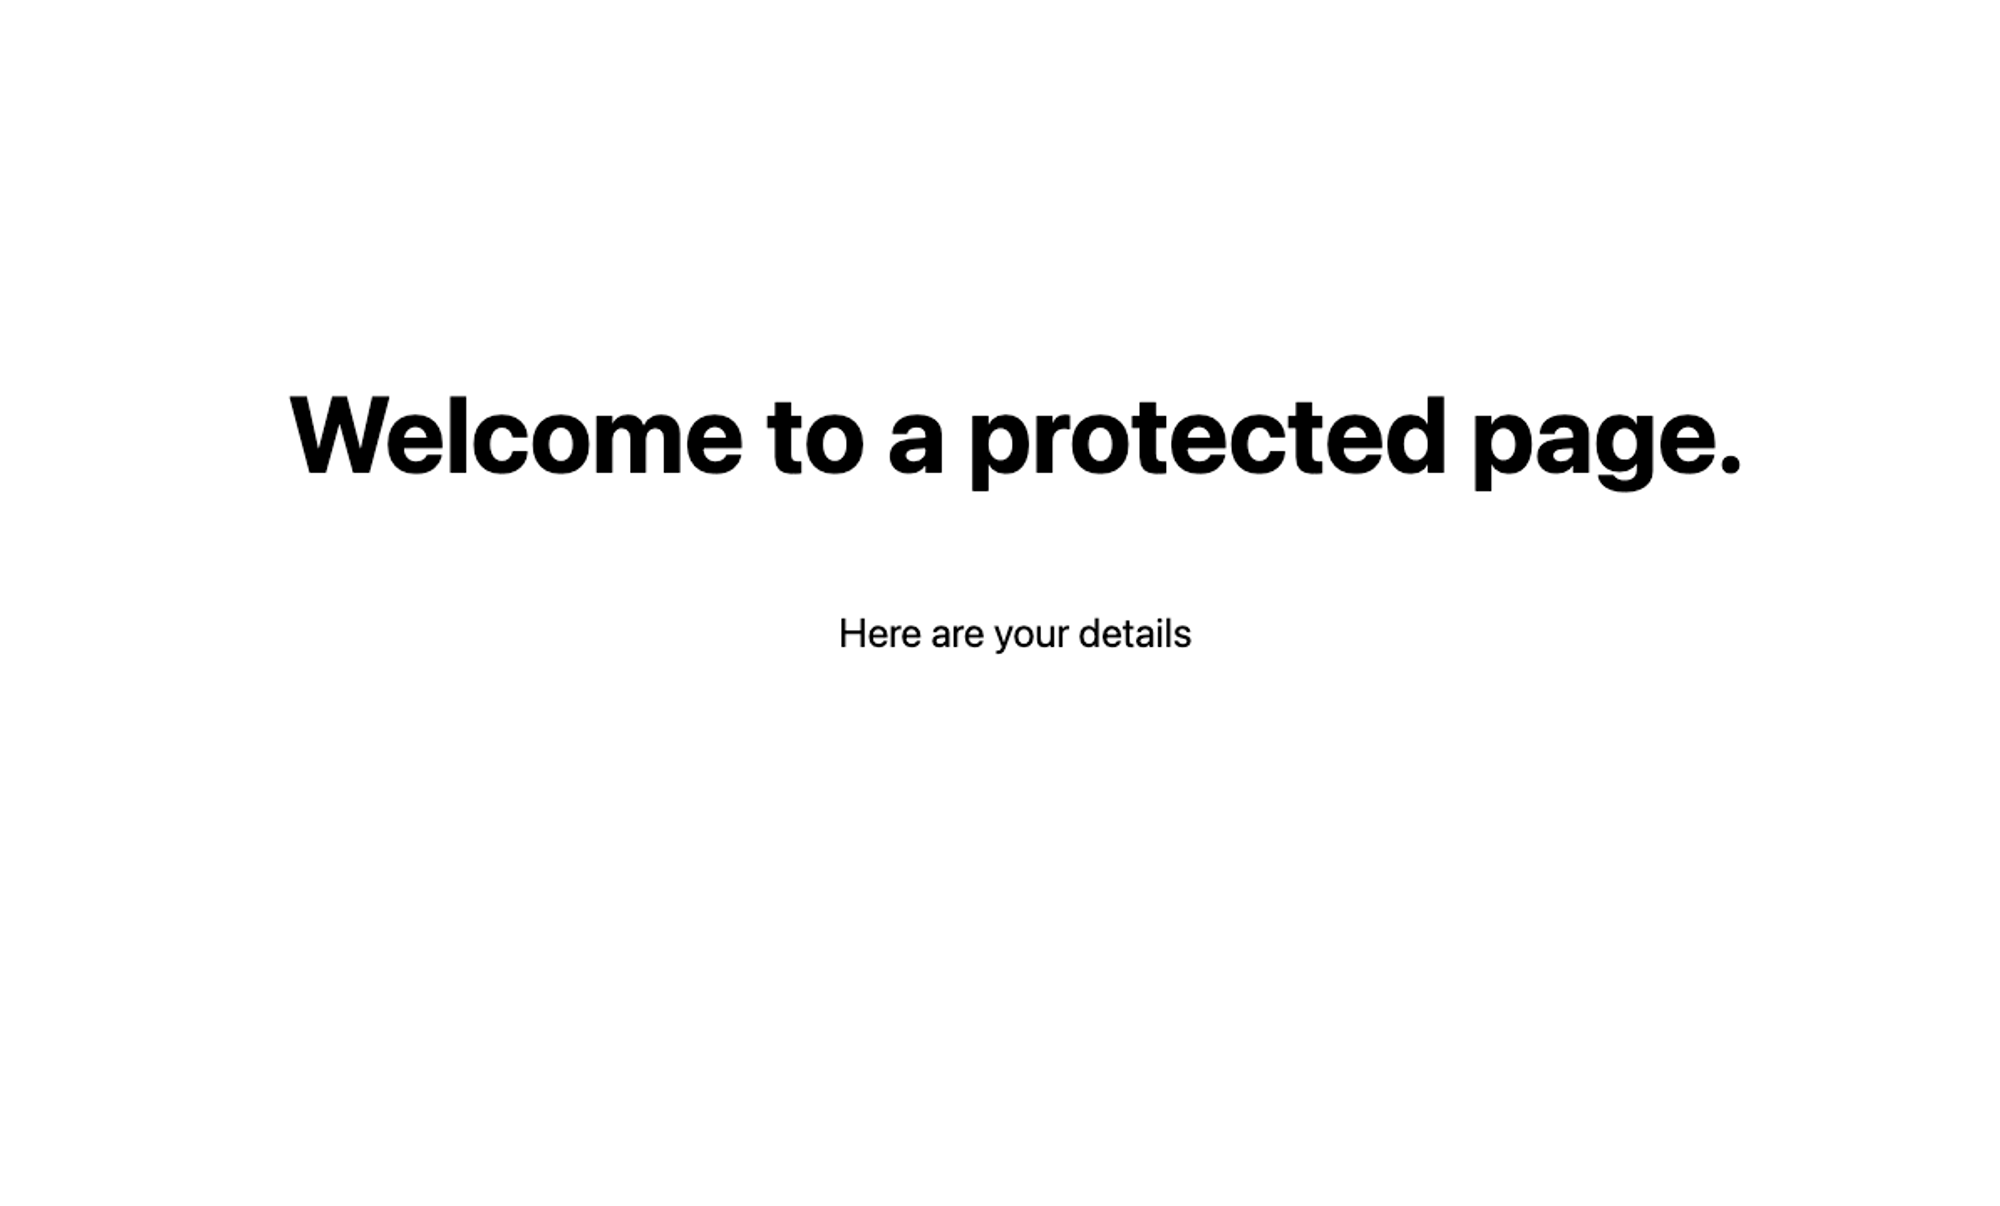
Now if you go to http://localhost:3000/protected you will see the new page we just created, which is not very protected at the moment.
Creating a Navbar component
To facilitate the process of logging in and out of our application and keep it consistent across our pages, we will be creating a Navbar component which we will then reuse across our pages.
Let’s first create a new folder in our project to store all our application’s reusable components. So in the root of your project, create a new folder /components. Inside it, we will create a new file Navbar.js, and add the following code:
import React from "react";
import styles from "../styles/Navbar.module.css";

export default function Navbar() {
  return (
    <nav className={styles.nav}>
      <a href="/">Navbar</a>
      <div>
        <button>
          <a href="/login">Login</a>
        </button>
      </div>
    </nav>
  );
}
We also created a new stylesheet for our Navbar under /styles/Navbar.module.css with the following content:
.nav {
    display: flex;
    flex-direction: row;
    justify-content: space-between;
    align-items: center;
    padding: 24px;
    font-size: 1.4rem;
    font-weight: bold;
    border-bottom: 2px solid rgba(0, 0, 0, 0.1);
}

.nav button {
    font-weight: bold;
    font-size: 1.2rem;
    padding: 12px 16px;
    background-color: #42adf5;
    border-radius: 8px;
    border: none;
    color: white;
}
We then added our new component to both our pages right under the <Head> tag of each React component:
<Navbar /> // <-- Inserted this below the <Head> closing tag
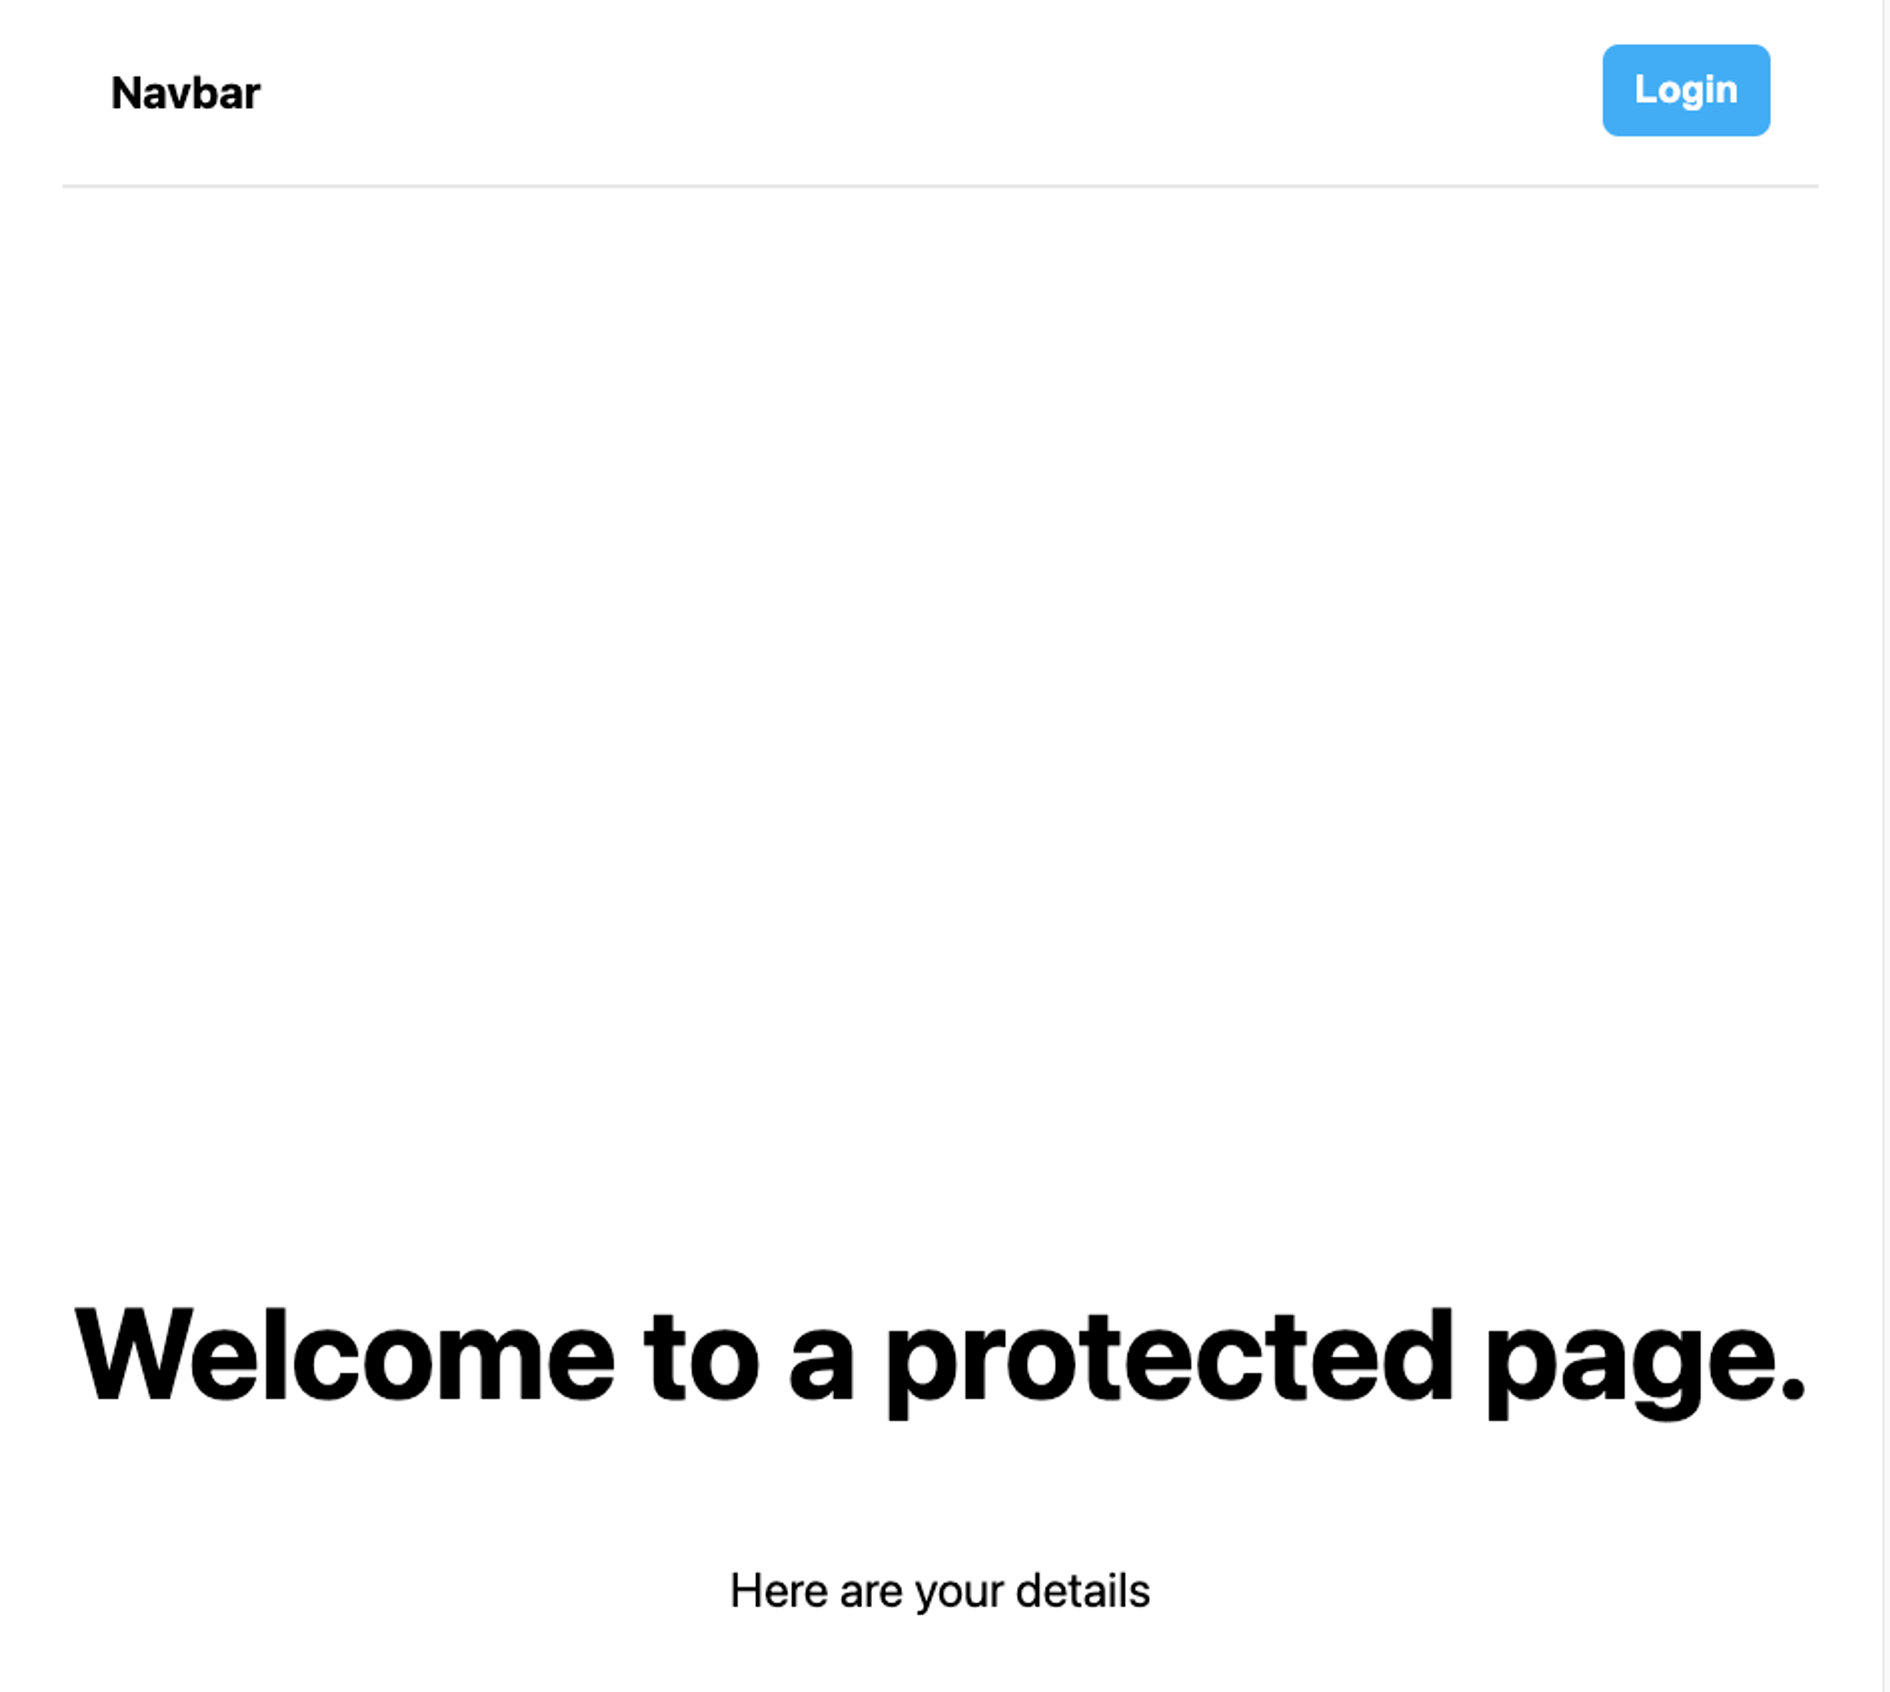
And now if we visit any of the pages, we can see our newly created component right at the top.
OAuth and Auth0
What is OAuth
OAuth stands for “Open Authorization” and it is an open standard for authorization that anyone can implement. It is not an API or a service, but a set of well-established rules that define a protocol authorizing devices, APIs, servers, and applications with access tokens, rather than credentials, thus providing client applications with “secure delegated access”.
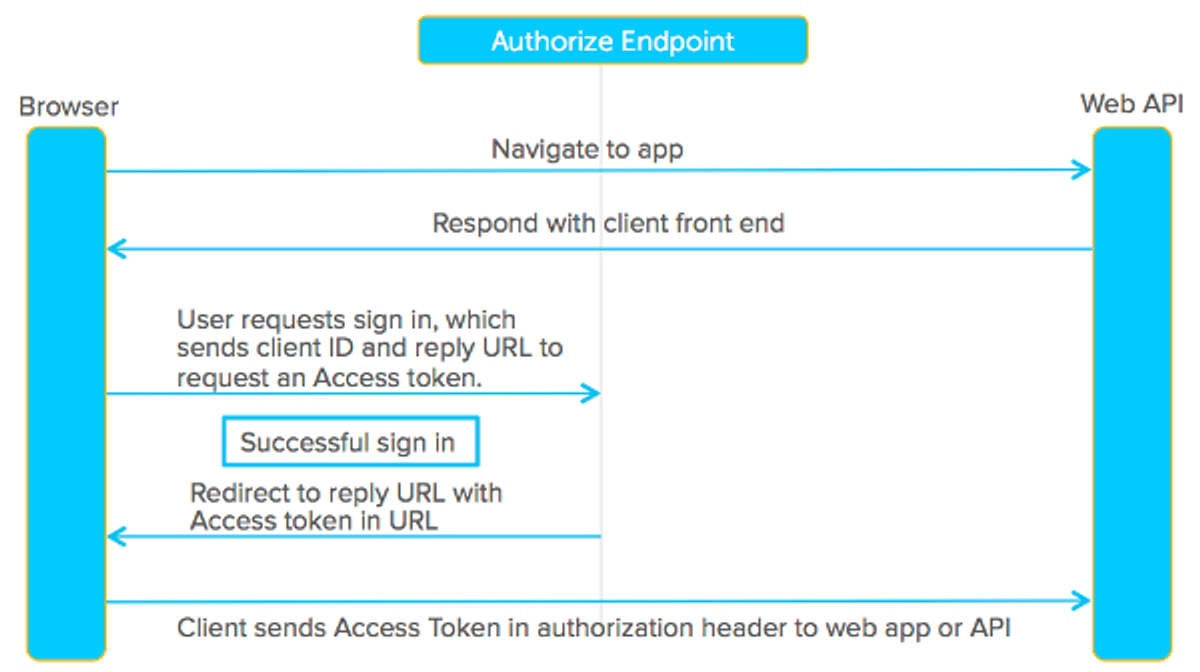
This allows websites, services, and applications to access resources hosted by other services on behalf of a user by means of granting access through an Access Token which can later be used alone to identify and grant permissions to the service or app.
Here is a diagram where this flow is explained at a high level. Please refer to this blog post by Matt Raible for an in-depth explanation of OAuth - https://developer.okta.com/blog/2017/06/21/what-the-heck-is-oauth
What is Auth0

Auth0 (read “Auth Zero”) is a service provided by a company that ensures both authentication and authorization functionalities with a plethora of features to control user access, roles, and an easy plug-n-play of social providers login.
It works on the basis of OAuth 2.0 standard as we discussed above, so it uses tokens to manage this authentication and authorization flow in your application.
And the best part, it is developer-oriented making it easy for us developers to implement any authentication flow in our apps with the least amount of lines of code possible.
Benefits of Auth0
Besides all of these wonderful benefits of using Auth0 as your authentication service, there are many more.
- Security - Auth0 main focus is providing the security and reliability that any authentication service provider needs, so a lot of time and resources have been invested in creating the most secure data infrastructure to protect all customer data within Auth0.
- Extensibility - Auth0 allows for easy extensibility by providing developers with modern tooling to extend the base service, resulting in third-party apps that can be shared in the Auth0 marketplace.
- Extra Authentication Security - On top of all we have already discussed, Auth0 makes it easy to enable Multi-Factor Authentication (MFA) within their service, eliminating the need to implement a service of the kind yourself.
- Analytics - Auth0 comes with built-in analytics to track the usage of your website or application, such as the number of new users, logins, providers used, and more.
- Developer-Oriented - Infinite amount of resources and tutorials specially crafted for developers. Great documentation and technology-specific libraries to get you up and running with Auth0 in minutes in your language of choice.
Implementing Auth0 in our app
Now comes the fun part! We will be registering a new account with Auth0 and creating a project to which we can generate an API key that we’ll use in our code to identify it. We will then create the necessary pages and links in our NextJS application to make it all work together seamlessly.
Creating an Auth0 Account and Application
As the title implies, it is a very simple step. Head over to https://auth0.com/ and create a new account.
After you log in, you will be redirected to your dashboard.
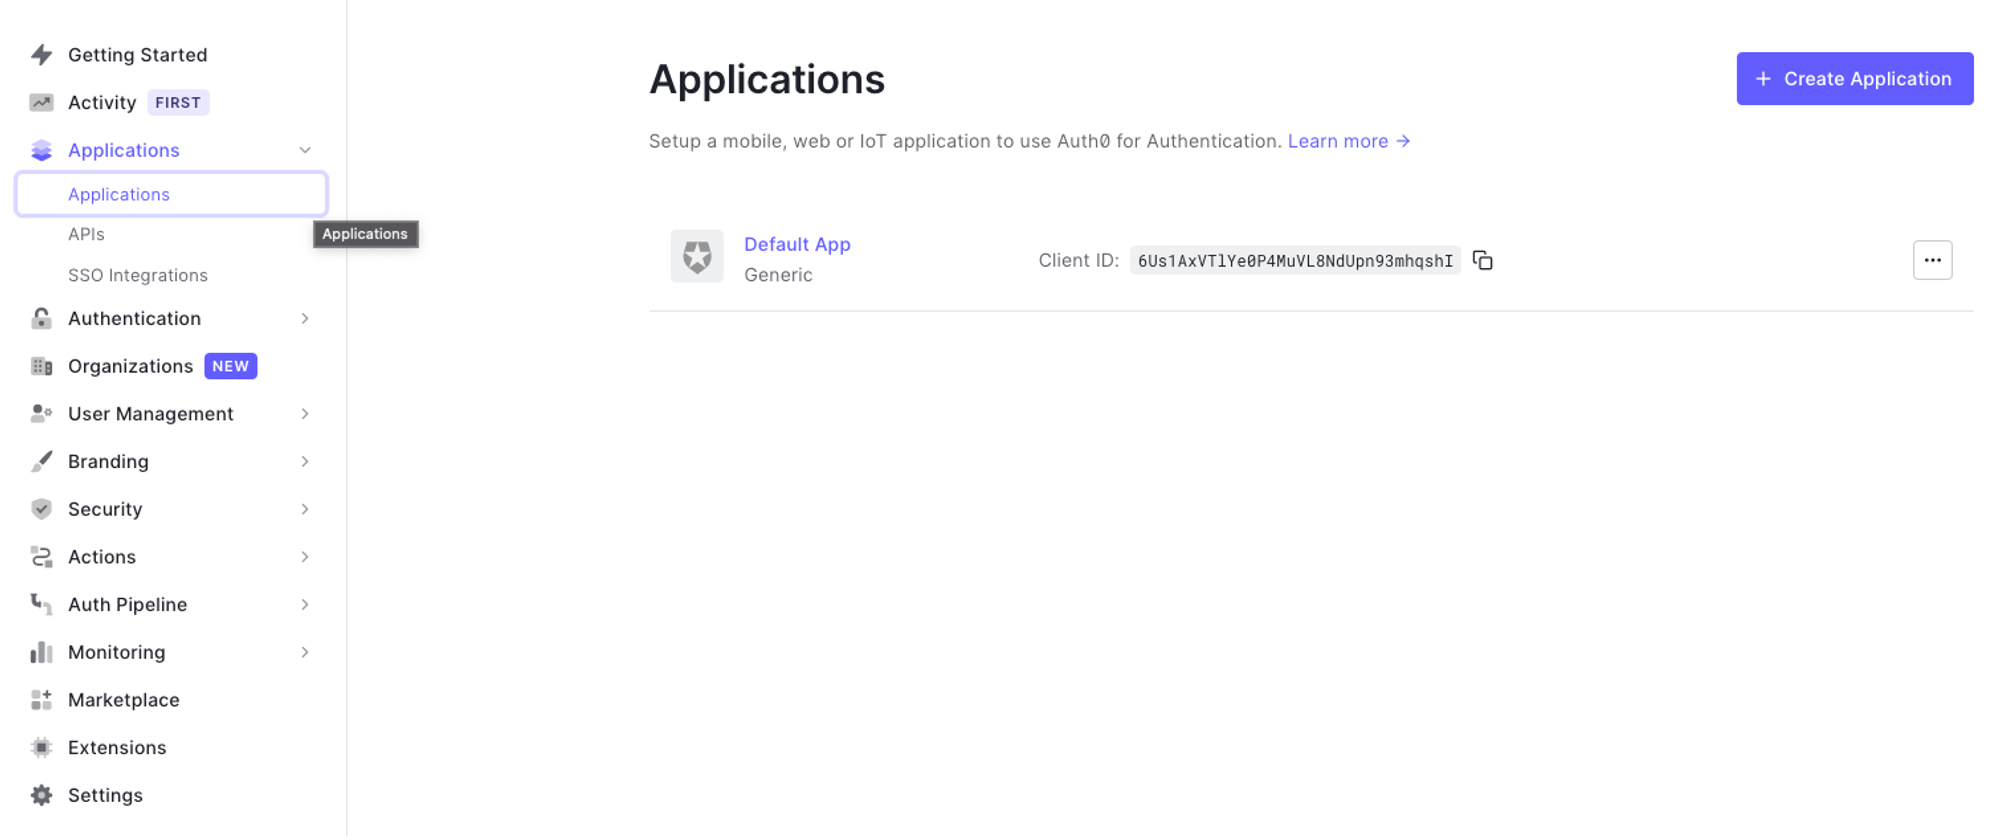
On the side menu, you can find your registered applications to your Auth0 account. You will find a default one already created for you, which you can customize. Let’s open it up by clicking on it.
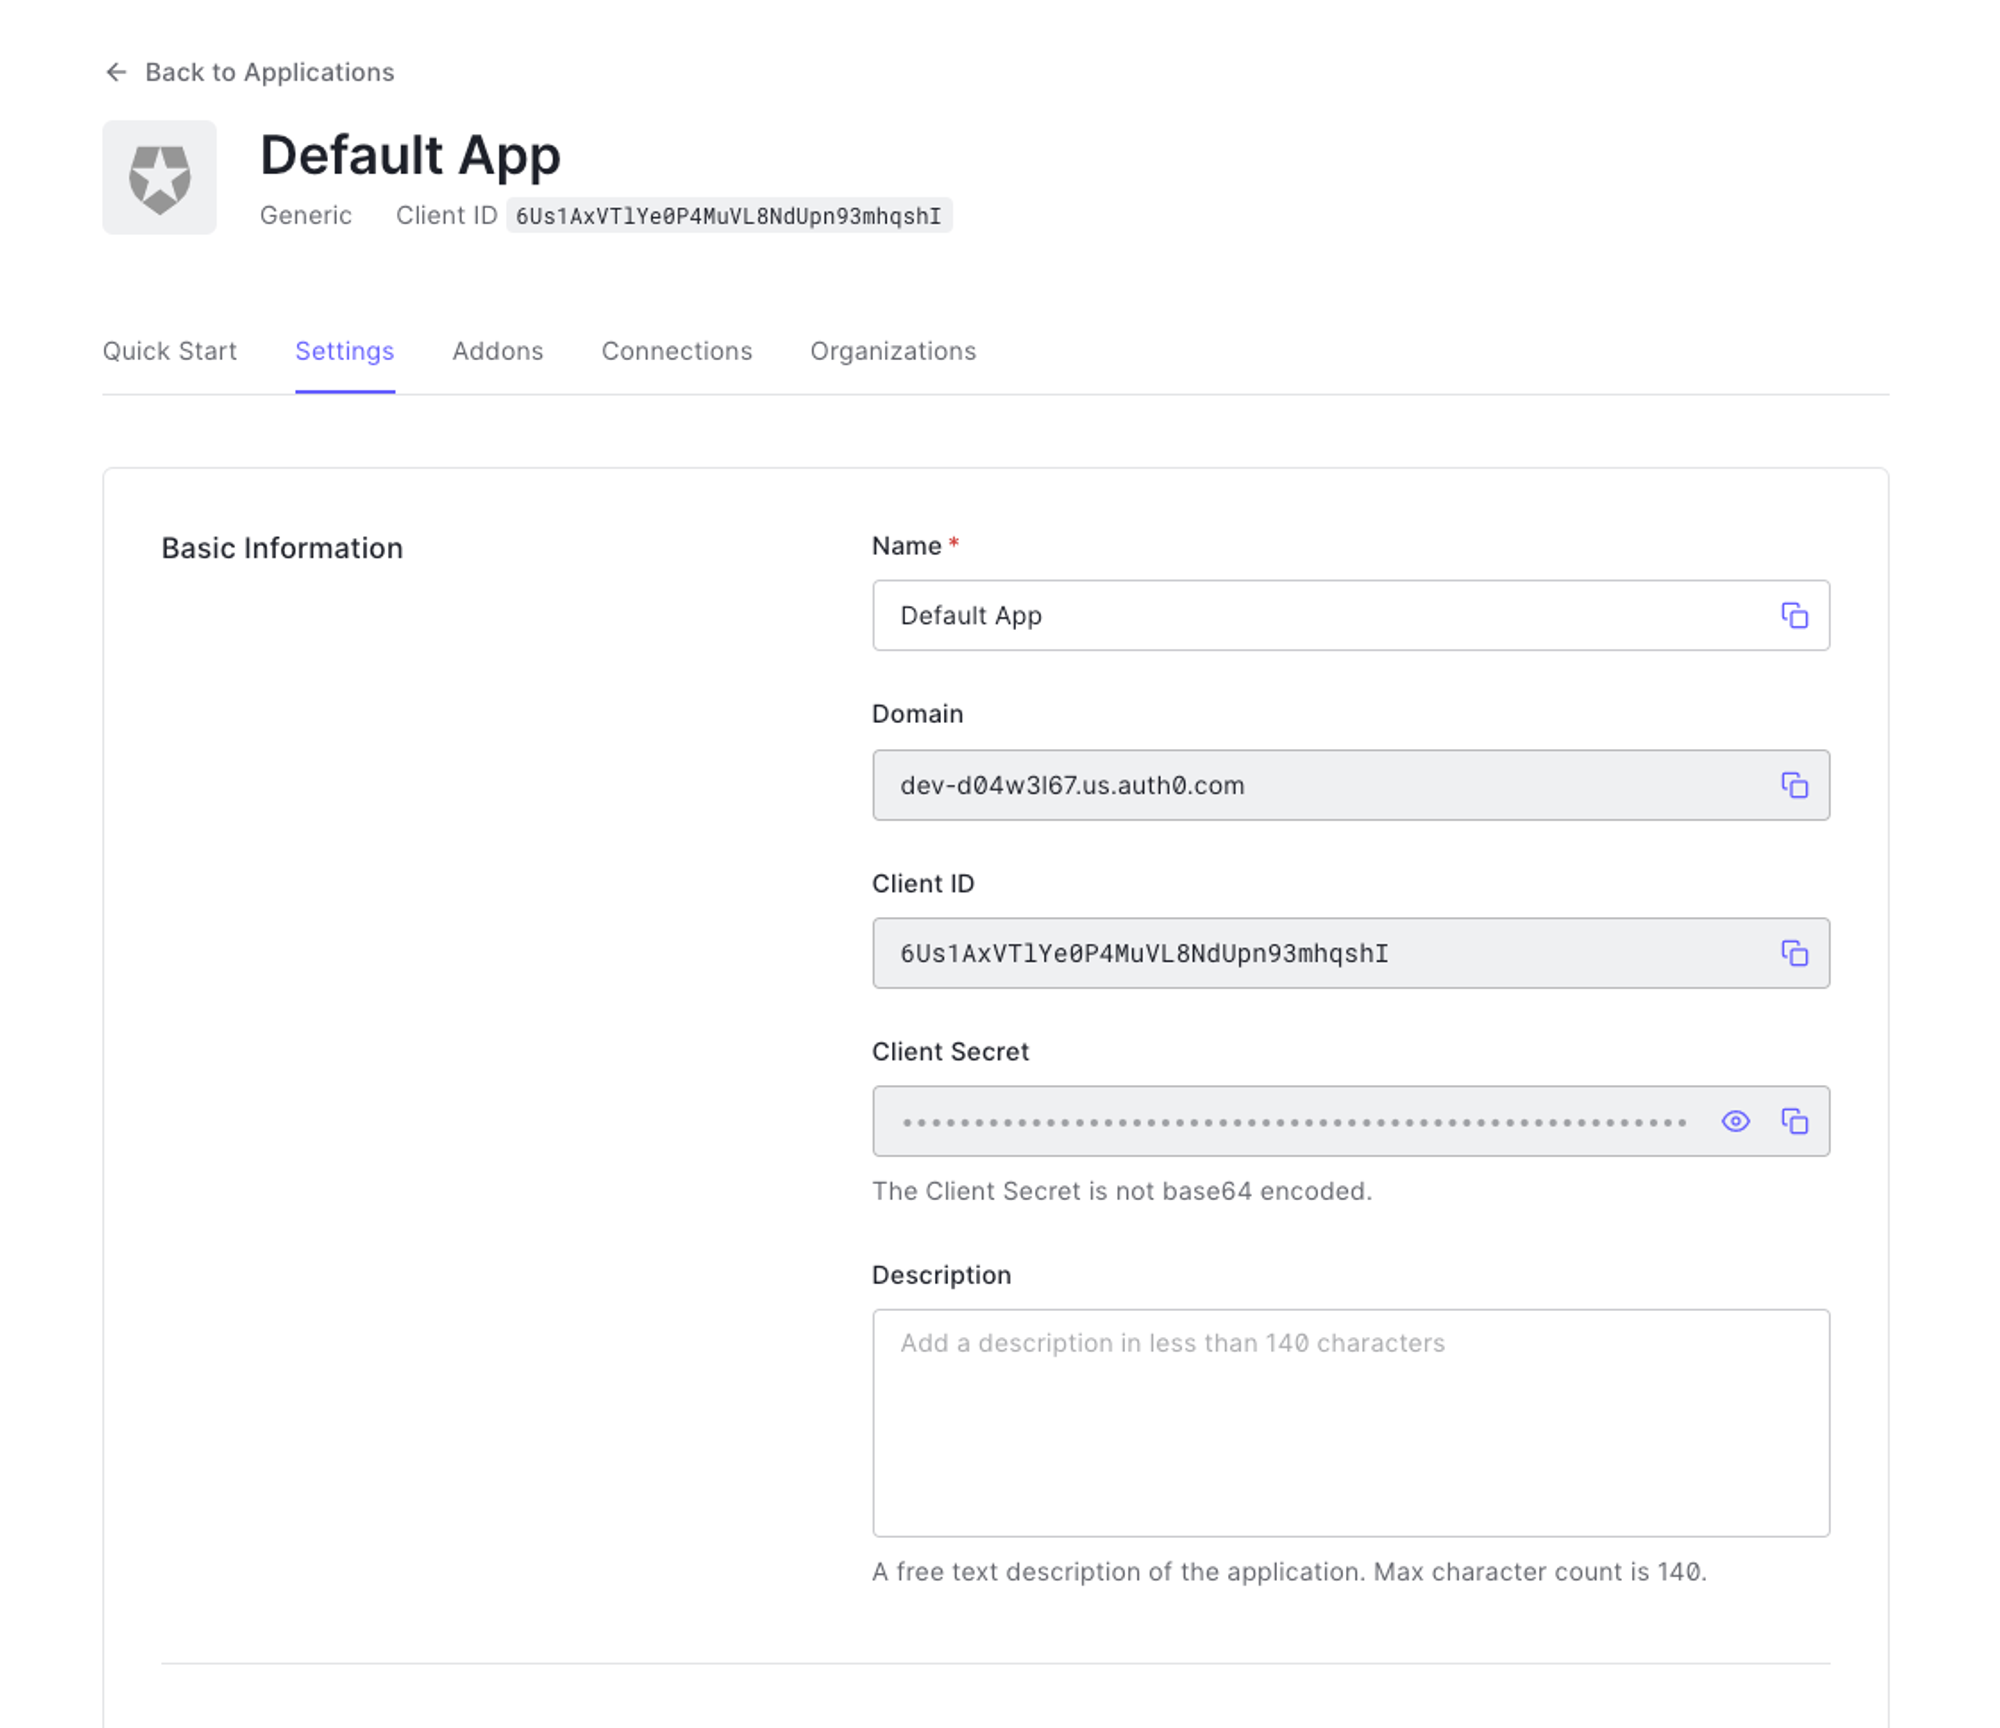
Our Auth0 Application Settings
In this screen you can change all your application settings, setting it up for use and also extending its functionalities.
The important steps to take here are to get your application’s Domain, Client ID, and Client Secret. We will also need to update information on the Application URIs tab in order for Auth0 to understand how to handle requests and redirects.
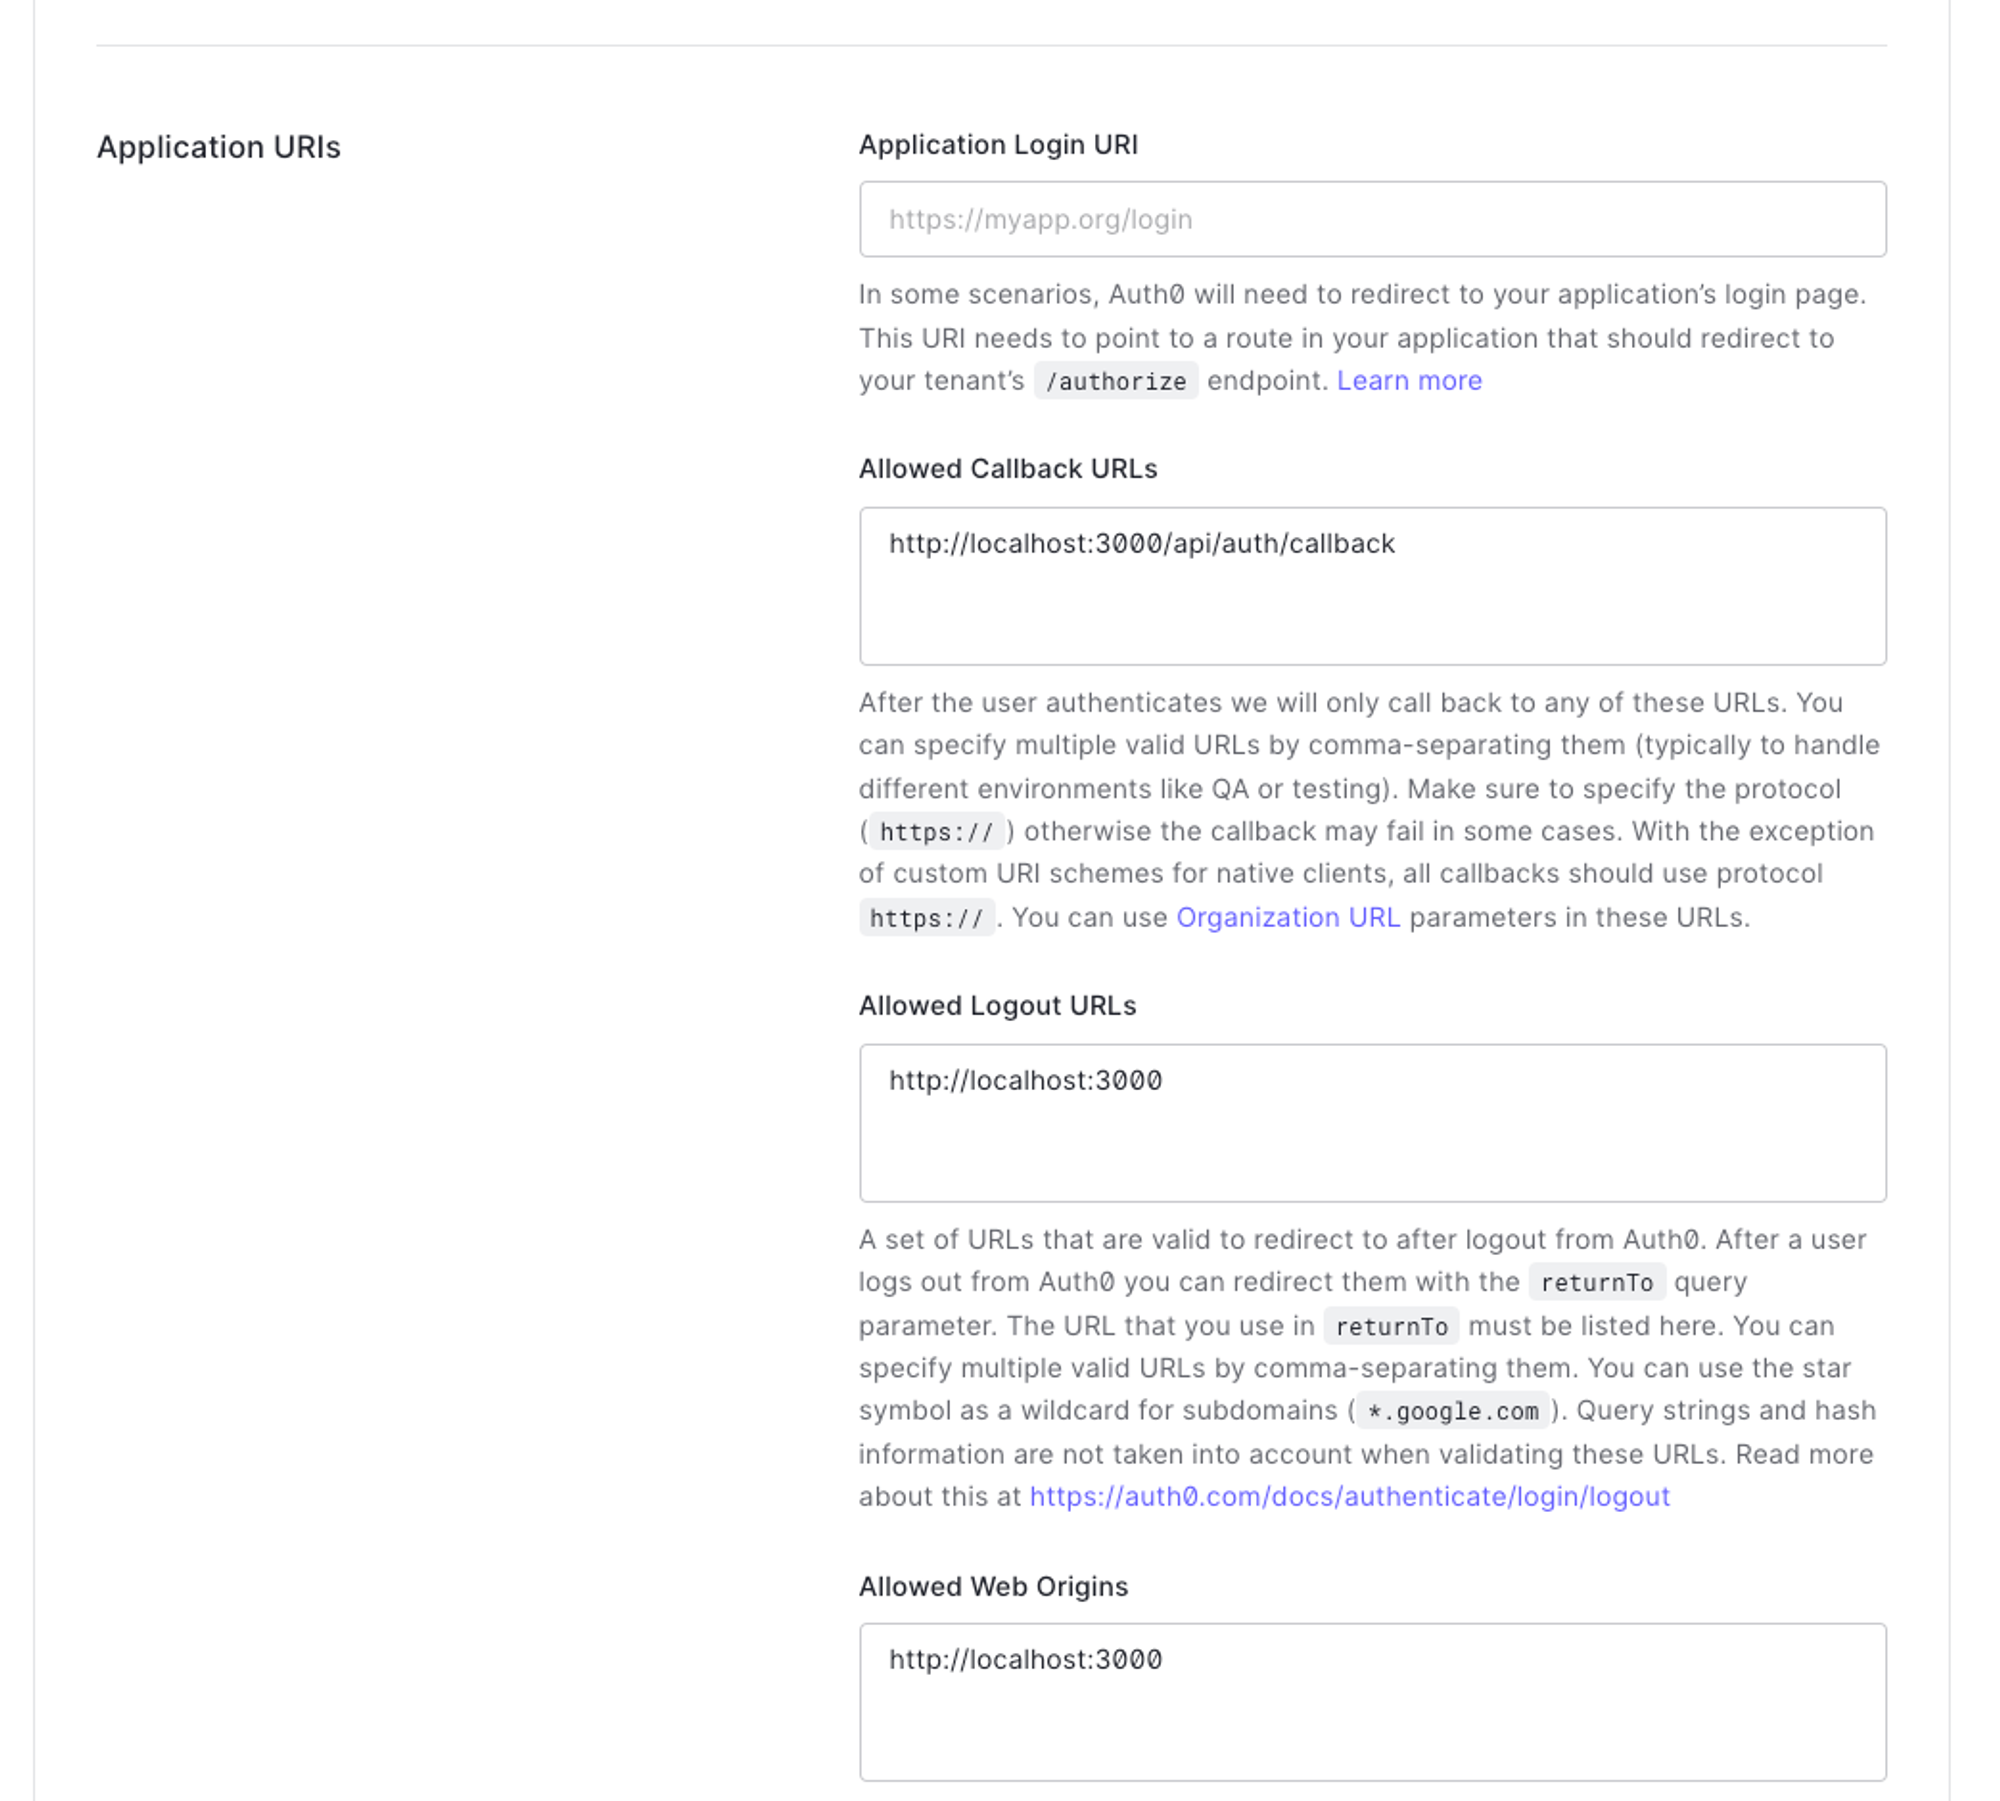
Updating our Application URIs
At the Application URIs section of the setting page, we define the Allowed URLs for the callback, and logout, as these are required for the Auth0 NextJS package to work properly when communicating with the Auth0’s services. Make sure your fields are filled in as in the image below.
NOTE: The other fields are optional, but recommended, as a way to further secure your app.
Preparing our NextJS project
Now that we have our Auth0 project all set up, it is time to prepare our NextJS app to handle authentication requests and authorize itself against Auth0’s services.
Installing Auth0’s NextJS SDK
Within your project directory, run the following command to install the Auth0 NextJS SDK:
npm install @auth0/nextjs-auth0
This SDK will expose methods and variables that will allow you to easily integrate Auth0 into your NextJS app and use all its features.
Adding our Environment Variables
In your project, create a new .env.local file that will be used to store our Environment Variables. In it, add the following contents, replacing the required variables with the ones generated on your application settings screen.
AUTH0_SECRET=<YOUR_AUTH0_SECRET>
AUTH0_BASE_URL=http://localhost:3000
AUTH0_ISSUER_BASE_URL=<YOUR_AUTH0_DOMAIN>
AUTH0_CLIENT_ID=<YOUR_AUTH0_CLIENT_ID>
AUTH0_CLIENT_SECRET=<YOUR_AUTH0_CLIENT_SECRET>
AUTH0_SECRET: A long secret value used to encrypt the session cookie. You can generate a suitable string usingopenssl rand -hex 32on the command line.AUTH0_BASE_URL: The base URL of your application, in our case it is localhost:3000.AUTH0_ISSUER_BASE_URL: The URL of your Auth0 tenant domain. If you are using a Custom Domain with Auth0, set this to the value of your Custom Domain instead of the value reflected in the "Settings" tab.AUTH0_CLIENT_ID: Your Auth0 application's Client ID.AUTH0_CLIENT_SECRET: Your Auth0 application's Client Secret.
At this point, our Auth0 NextJS SDK is fully configured and ready to be used in our application.
NOTE: This new file should not be versioned to your version control software.
Adding the dynamic API route
The next step is to add a dynamic API route in our project automatically creating a series of routes that will be mapped to certain SDK methods handling each individual action.
Inside the pages/api directory, create a new auth directory and inside it a [...auth0].js file. Import in that file the handleAuth method from the SDK, and export the result of calling it.
// pages/api/auth/[...auth0].js
import { handleAuth } from '@auth0/nextjs-auth0';

export default handleAuth();
This creates the following routes:
/api/auth/login: The route used to perform login with Auth0./api/auth/logout: The route used to log the user out./api/auth/callback: The route Auth0 will redirect the user to after a successful login./api/auth/me: The route to fetch the user profile from.
Adding the UserProvider Component
On the frontend side, the SDK will use React Context to manage the authentication state of your users. To make that state available to all your pages, we override the base App component and wrap its inner component with a UserProvider. This way, all components within the app will have access to the Authentication context and provided hooks that will come in handy later.
Your /pages/_app.js should look something like this now:
import '../styles/globals.css'

import { UserProvider } from '@auth0/nextjs-auth0';

export default function App({ Component, pageProps }) {
  return (
    <UserProvider>
      <Component {...pageProps} />
    </UserProvider>
  );
}
Using the Auth0 NextJS SDK
Now that we have finished setting up our Auth0 project and its NextJS specific SDK, all we have left to do is use it! So let’s take a look at how we can do that now.
Logging in a User
A user can now log in to your application by visiting the /api/auth/login route provided by the SDK. In our Navbar component, let’s add a link to your login route using an anchor tag.
import Link from 'next/link'; // <- Imported Link from NextJS

export default function Navbar() {
  return (
    <nav className={styles.nav}>
      <Link href="/">Navbar</Link> {/* <- Used here */}
      <div>
        <button>
          <a href="/api/auth/login">Login</a> {/* <- Updated here, we should keep it as an anchor tag for api routes */}
        </button>
      </div>
    </nav>
  );
}
Now, if a user clicks the Login button on the Navbar, he or she will be redirected to our app’s Auth0 login screen, how magical is that?!
After the user signs up or authenticates using an existing account using a username and password, or any of the provided and enabled social providers, Auth0 will redirect back to your application.

Logging out a user
Now that we know how to log in users, let’s find out how to log them out as well.
To do that, first, we need to know if any user is authenticated, in order to know whether we show a Login button or a Logout button.
Using the User Context managed by the Auth0 NextJS SDK, we can easily get that information with the useUser hook provided by the SDK. This hook supplies different information about the current state of the User Context but, for this scenario, we will only need to know if there is a user present in the context and, if so, show a Logout button instead.
Update your Navbar component as follows.
export default function Navbar() {
  const { user } = useUser();

  return (
    <nav className={styles.nav}>
      <Link href="/">Navbar</Link>
      <div>
        <button>
          {user ? (
            <a href="/api/auth/logout">Logout</a>
          ) : (
            <a href="/api/auth/login">Login</a>
          )}
        </button>
      </div>
    </nav>
  );
}
Now, if a user is present in the application User Context, we will show a Logout button that will redirect the user to the /api/auth/logout route, which is handled by the SDK and will automatically take all necessary actions to delete the user’s active session.
Accessing User Profile information
Since we already know that to verify if there is currently a logged-in user we can check for the existence of the user property in the useUser hook provided by the SDK, we already have all the information needed to access the user itself, as all available user information is contained in that exact property.
Along with the user property, the useUser hook also exported other properties such as error and isLoading so that we have even greater control over the current state of the context.
Let’s create a simple page where we can check the current user’s available information. Let’s call it Profile.
Create a new profile.js file in the /pages folder and paste the following content.
import { useUser } from "@auth0/nextjs-auth0";
import Head from "next/head";
import Navbar from "../components/Navbar";
import styles from "../styles/Home.module.css";

export default function Profile() {
  const { user, error, isLoading } = useUser();

  if (isLoading) return <div>Loading...</div>;
  if (error) return <div>{error.message}</div>;

  return (
    <div className={styles.container}>
      <Head>
        <title>Profile</title>
        <meta name="description" content="Generated by create next app" />
        <link rel="icon" href="/favicon.ico" />
      </Head>
      <Navbar />

      <main className={styles.main}>
        <h1 className={styles.title}>Welcome to your profile.</h1>

        <p className={styles.description}>Here are your details:</p>
        <p>{JSON.stringify(user)}</p>
      </main>
    </div>
  );
}
Now let’s add a new button to our Navbar so that we can easily get to this page. This button should only be shown when there is a logged-in user.
Update the Navbar component with the following:
export default function Navbar() {
  const { user } = useUser();

  return (
    <nav className={styles.nav}>
      <Link href="/">Navbar</Link>
      <div>
        {user ? (
          <div>
            <a style={{ marginRight: 8 }} href="/profile">
              Profile
            </a>
            <button>
              <a href="/api/auth/logout">Logout</a>
            </button>
          </div>
        ) : (
          <button>
            <a href="/api/auth/login">Login</a>
          </button>
        )}
      </div>
    </nav>
  );
}
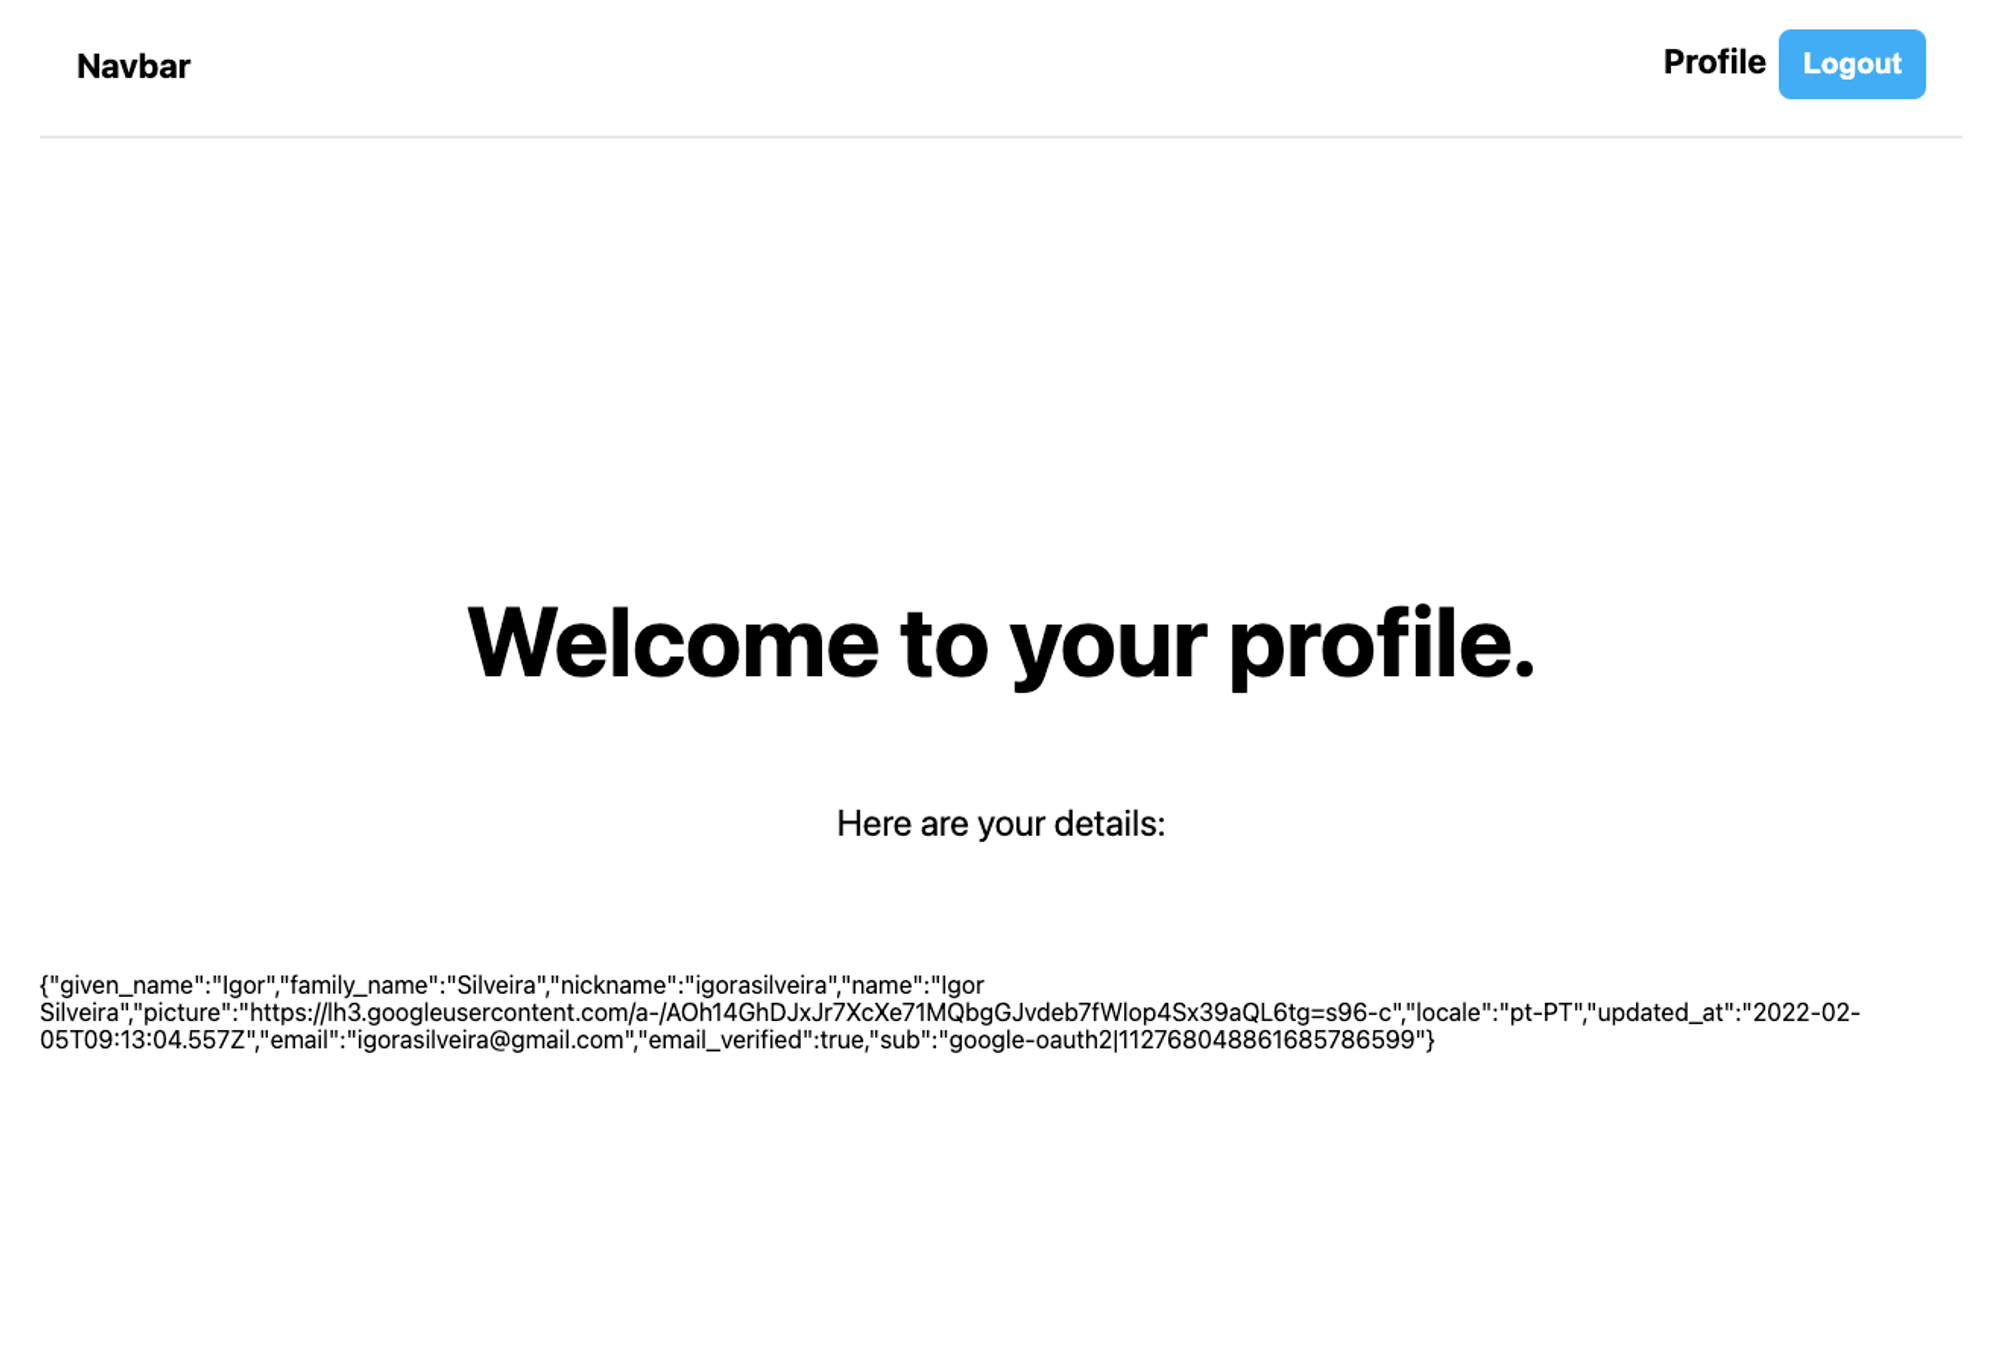
And now, if a user is logged in, he or she will be able to access their own profile with all their registered information within the Auth0 services!
Protecting a Page
To protect a page from non-logged-in users, the Auth0 NextJS SDK page also provides functions that will take care of that for you. So let’s protect our Profile page since it should not be accessible if there is no user to show the Profile for.
The main change we will need to apply is that our page component should now be returned by a High-Order Component (HOC) exported by the SDK method withPageAuthRequired.
This will also provide our page component with the state of the User Context as props. So we can access the user, error, and isLoading properties via the props directly but we still have access to the context from within the component so we could also use the useUser hook as well if we wished to.
Your Profile component should now look something like this:
import { useUser, withPageAuthRequired } from "@auth0/nextjs-auth0";
import Head from "next/head";
import Navbar from "../components/Navbar";
import styles from "../styles/Home.module.css";

function Profile({ user, error, isLoading }) {
  if (isLoading) return <div>Loading...</div>;
  if (error) return <div>{error.message}</div>;

  return (
    <div className={styles.container}>
      <Head>
        <title>Profile</title>
        <meta name="description" content="Generated by create next app" />
        <link rel="icon" href="/favicon.ico" />
      </Head>
      <Navbar />

      <main className={styles.main}>
        <h1 className={styles.title}>Welcome to your profile.</h1>

        <p className={styles.description}>Here are your details:</p>
        <p>{JSON.stringify(user)}</p>
      </main>
    </div>
  );
}

export default withPageAuthRequired(Profile);
NOTE: The main difference between SSR pages and CSR pages is that on SSR pages the getServerSideProps method should return the HOC itself.
export const getServerSideProps = withPageAuthRequired();
Congratulations!
If you made it this far, you should have a functional NextJS application with a secure and robust authentication system implemented in just a few lines of code.
If you run into any trouble, feel free to reach me out on my Twitter profile and I’d be glad to try and help out.