A Comprehensive Guide to NextJS Routing
Learn how Next.js makes it incredibly easy to navigate between pages within our application using prefetching ensuring our app is fast and secure.

Hello, my name is Igor and if by chance, you enjoy what I write, you may also like what I have to say on my Twitter profile, come and say 'Hi! 👋'.
This article is part of an entire Next.js series of articles that I am putting together to help you become a Next.js pro and start building blazing fast React apps, either static, client-rendered, server-rendered or a mix of both (but we will get to that later).
💡 If you don’t want to miss out on any of the tutorials, signup for my newsletter by clicking here or head over to DailyDev.io for more.
On this issue, we will be learning about how Next.js makes it incredibly easy to navigate between pages within our application using prefetching ensuring our app is fast and secure.
So let’s get started!
Pre-requisites
- Node ≥ 12
- React Basics
Creating a Next.js App
To kick this off, we need our very own freshly-built Next.js which we can get by simply running this command in the directory you wish to store all of your awesome Next.js projects.
npx create-next-app nextjs-basic-routing --use-npm --typescript
A breakdown of what we just did:
npx- is a command-line interface tool that makes it easy to execute npm packages without actually installing them on your own machine.create-next-app- our best friend, will scaffold a perfectly balanced Next.js app for you.nextjs-basic-routing- this is the name I decided to give my project, feel free to mix it up a bit.--use-npm- this flag specifies that we want to use NPM as our dependency manager.--typescript- this flag tells the scaffolding tool that we want to generate a TypeScript project and it initializes all required dependencies (this is more of a personal preference of mine - ❤️ TypeScript).
Running our App
Our Next.js project has been created and all dependencies automatically installed. We can now run it and see our app come to life!
In the same terminal we used to scaffold our project, we now cd into our project folder ie. cd nextjs-basic-routing and we run the following command to start our project in development mode.
npm run dev
After a couple of seconds, your Next.js app server is launched (hopefully with success) and you can now navigate to http://localhost:3000 and reveal your Next.js app, similar to the one below.
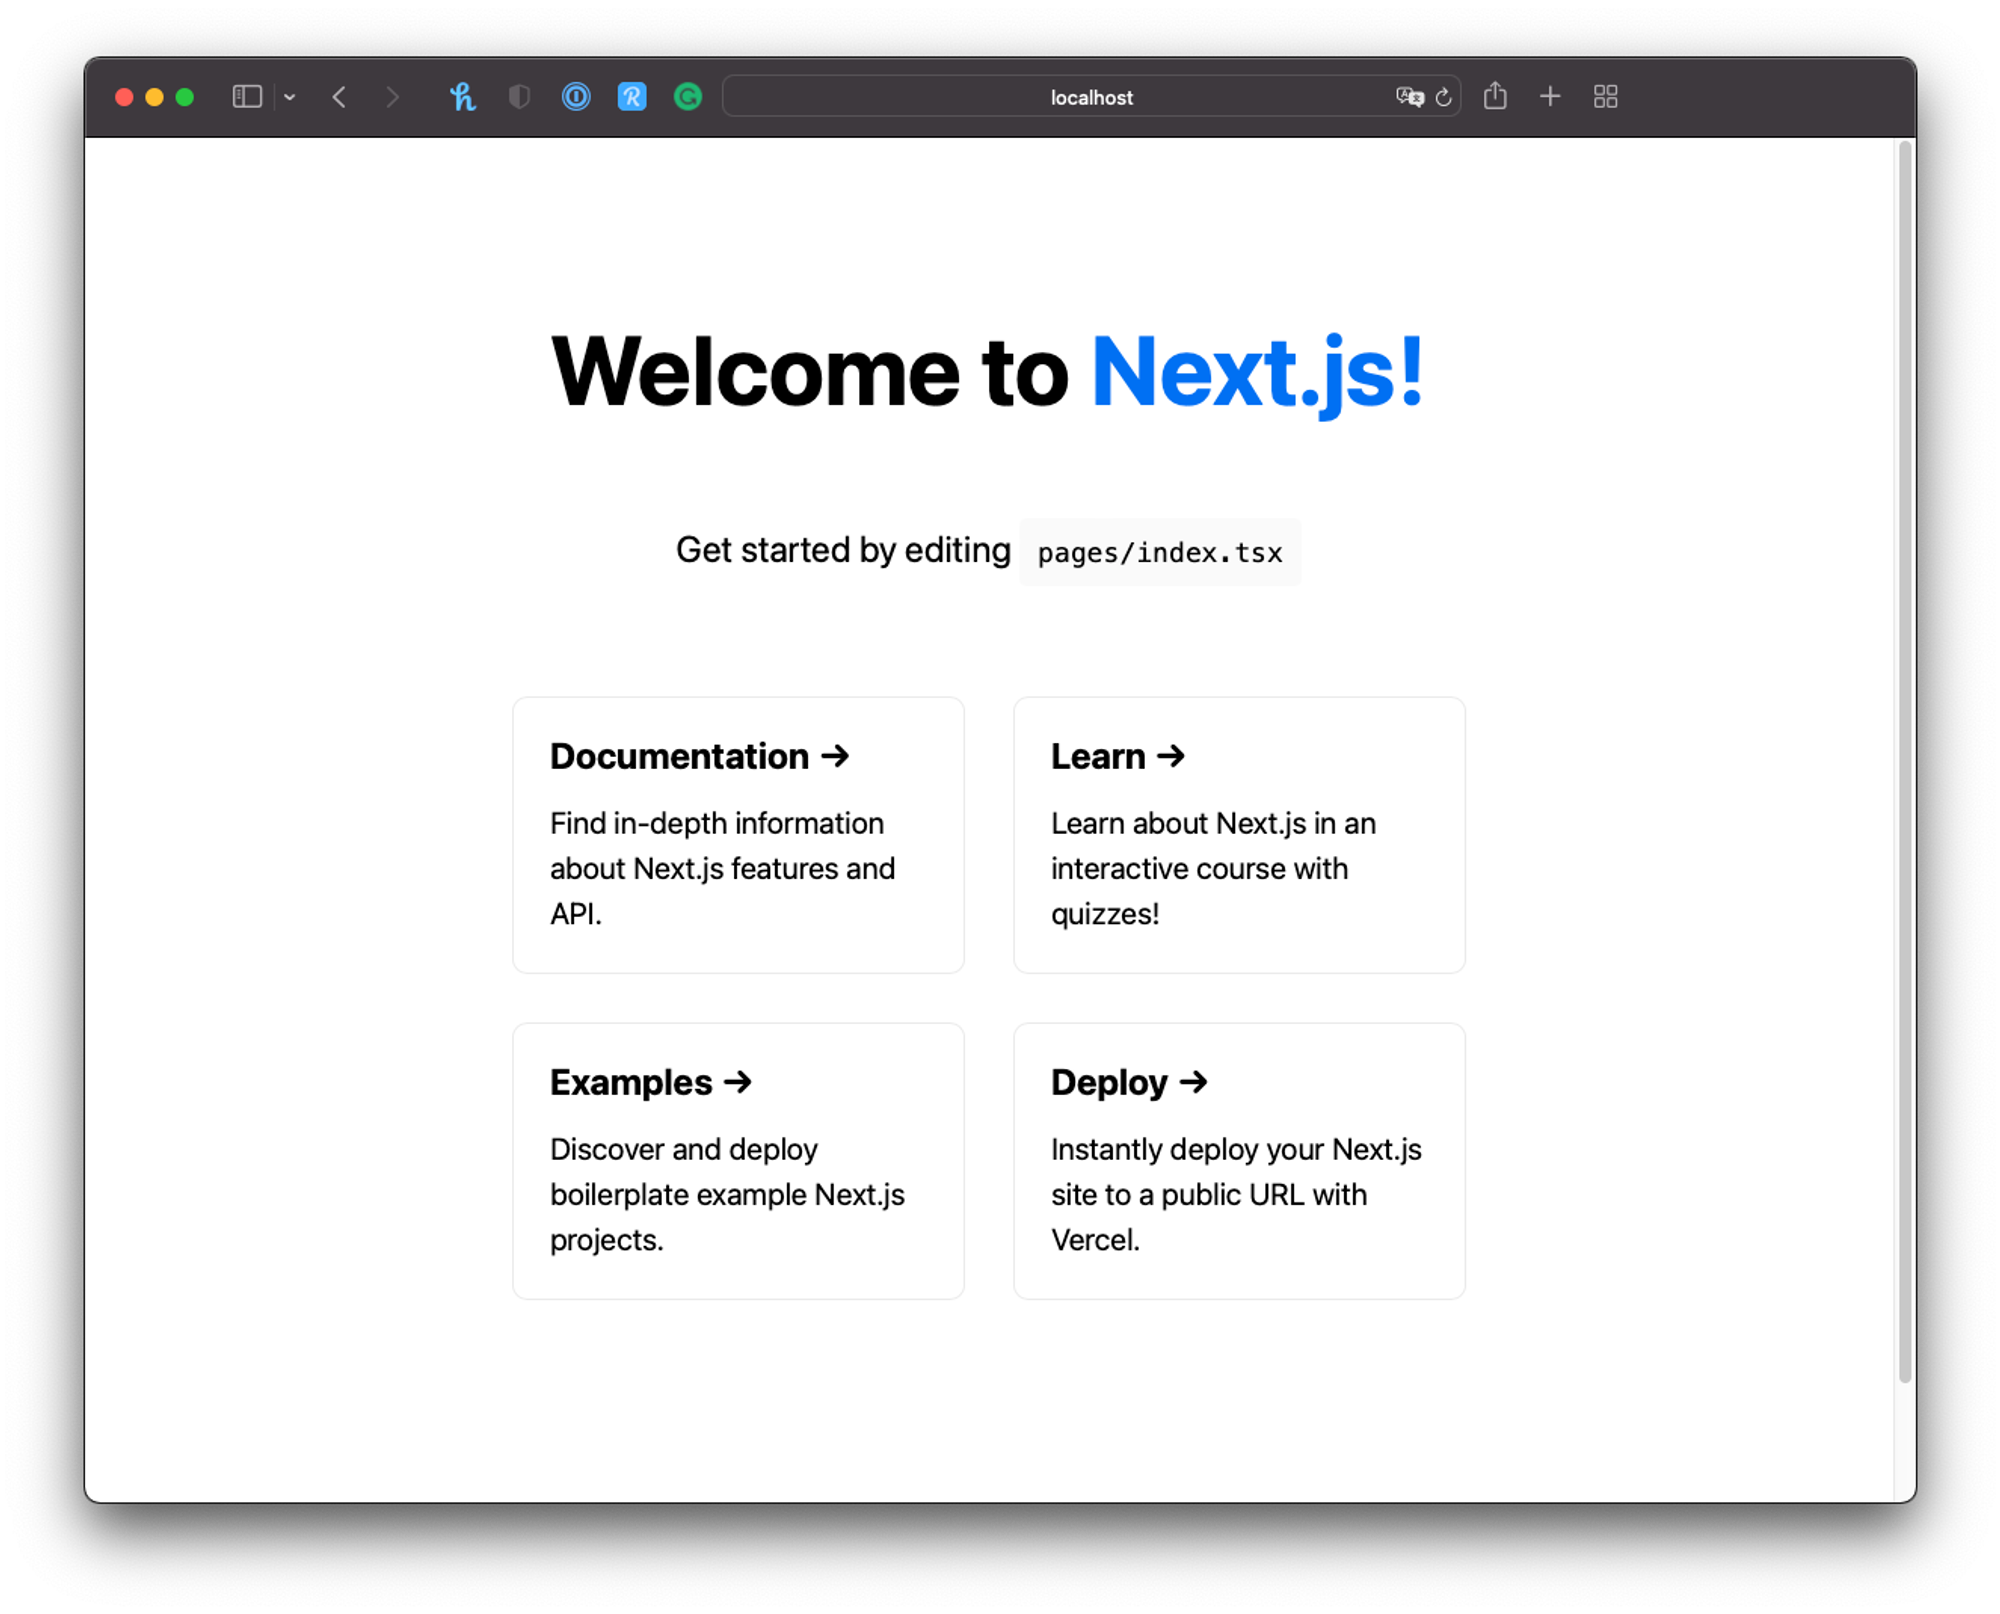
We are now open for business! 🥳
Next.js Routing
Now that we have our application up and running, let’s start looking at how Next.js beautifully handles its pages and routing, starting by creating our very own new page.
Pages
In Next.js, every page is a React Component that is exported from a file that lives in the /pages directory at the root of your project. The name of the file dictates the route it will be associated with, including the folder(s), if any, that the React Component is living in. There is a special filename that is associated with the root of your app, and that is the index.tsx file already came included with our initial scaffolding.
/pages/index.tsxmaps to the/route (our homepage)/pages/dogs/a-doggo.tsxmaps to the/dogs/a-doggo.tsxroute.
Creating a new Page
So if we were to create that doggo page mapped to that specific route, I’d need to create a new folder within /pages and, inside that new folder, export a new React Component from a file named a-doggo.tsx. Your file tree would look something like this:
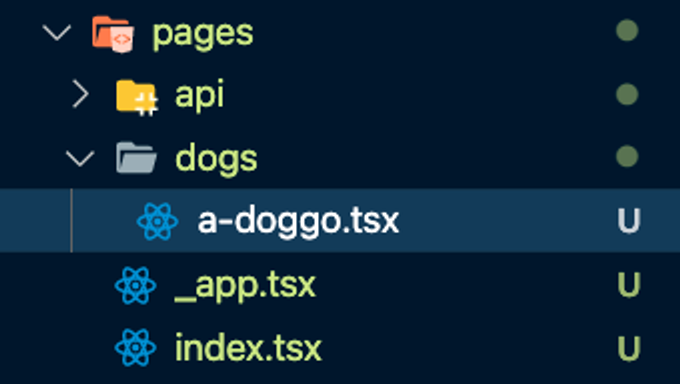
(Don’t mind the _app.tsx file, for now, that is a special file)
The contents of the new file can be anything you wish, as long as it exports a default React Component that renders some JSX that Next.js can then render as HTML. For example, this is the code of my React Component.
import type { NextPage } from 'next'
import Head from 'next/head'
import Image from 'next/image'

const Doggo: NextPage = () => {
  return (
    <div>
      <Head>
        <title>A Doggo</title>
      </Head>

      <main>
        <h1>
          This is a Doggo.
        </h1>

        <Image alt="This is a doggo" src='https://loremflickr.com/520/520/dog' width={520} height={520}/>
      </main>
    </div>
  )
}

export default Doggo
I wanted to have a random image of a doggo, so I used https://loremflickr.com, a nice tool for randomly generated assets. In order for this to work with Next.js, we need to add this domain as an image provider in the next.config.js file as below.
(NOTE: this is optional and you can make your React Component show whatever you want and not use this image generator)
const nextConfig = {
  reactStrictMode: true,
  images: {
    domains: [
      "loremflickr.com"  // <- added this
    ]
  }
}

module.exports = nextConfig
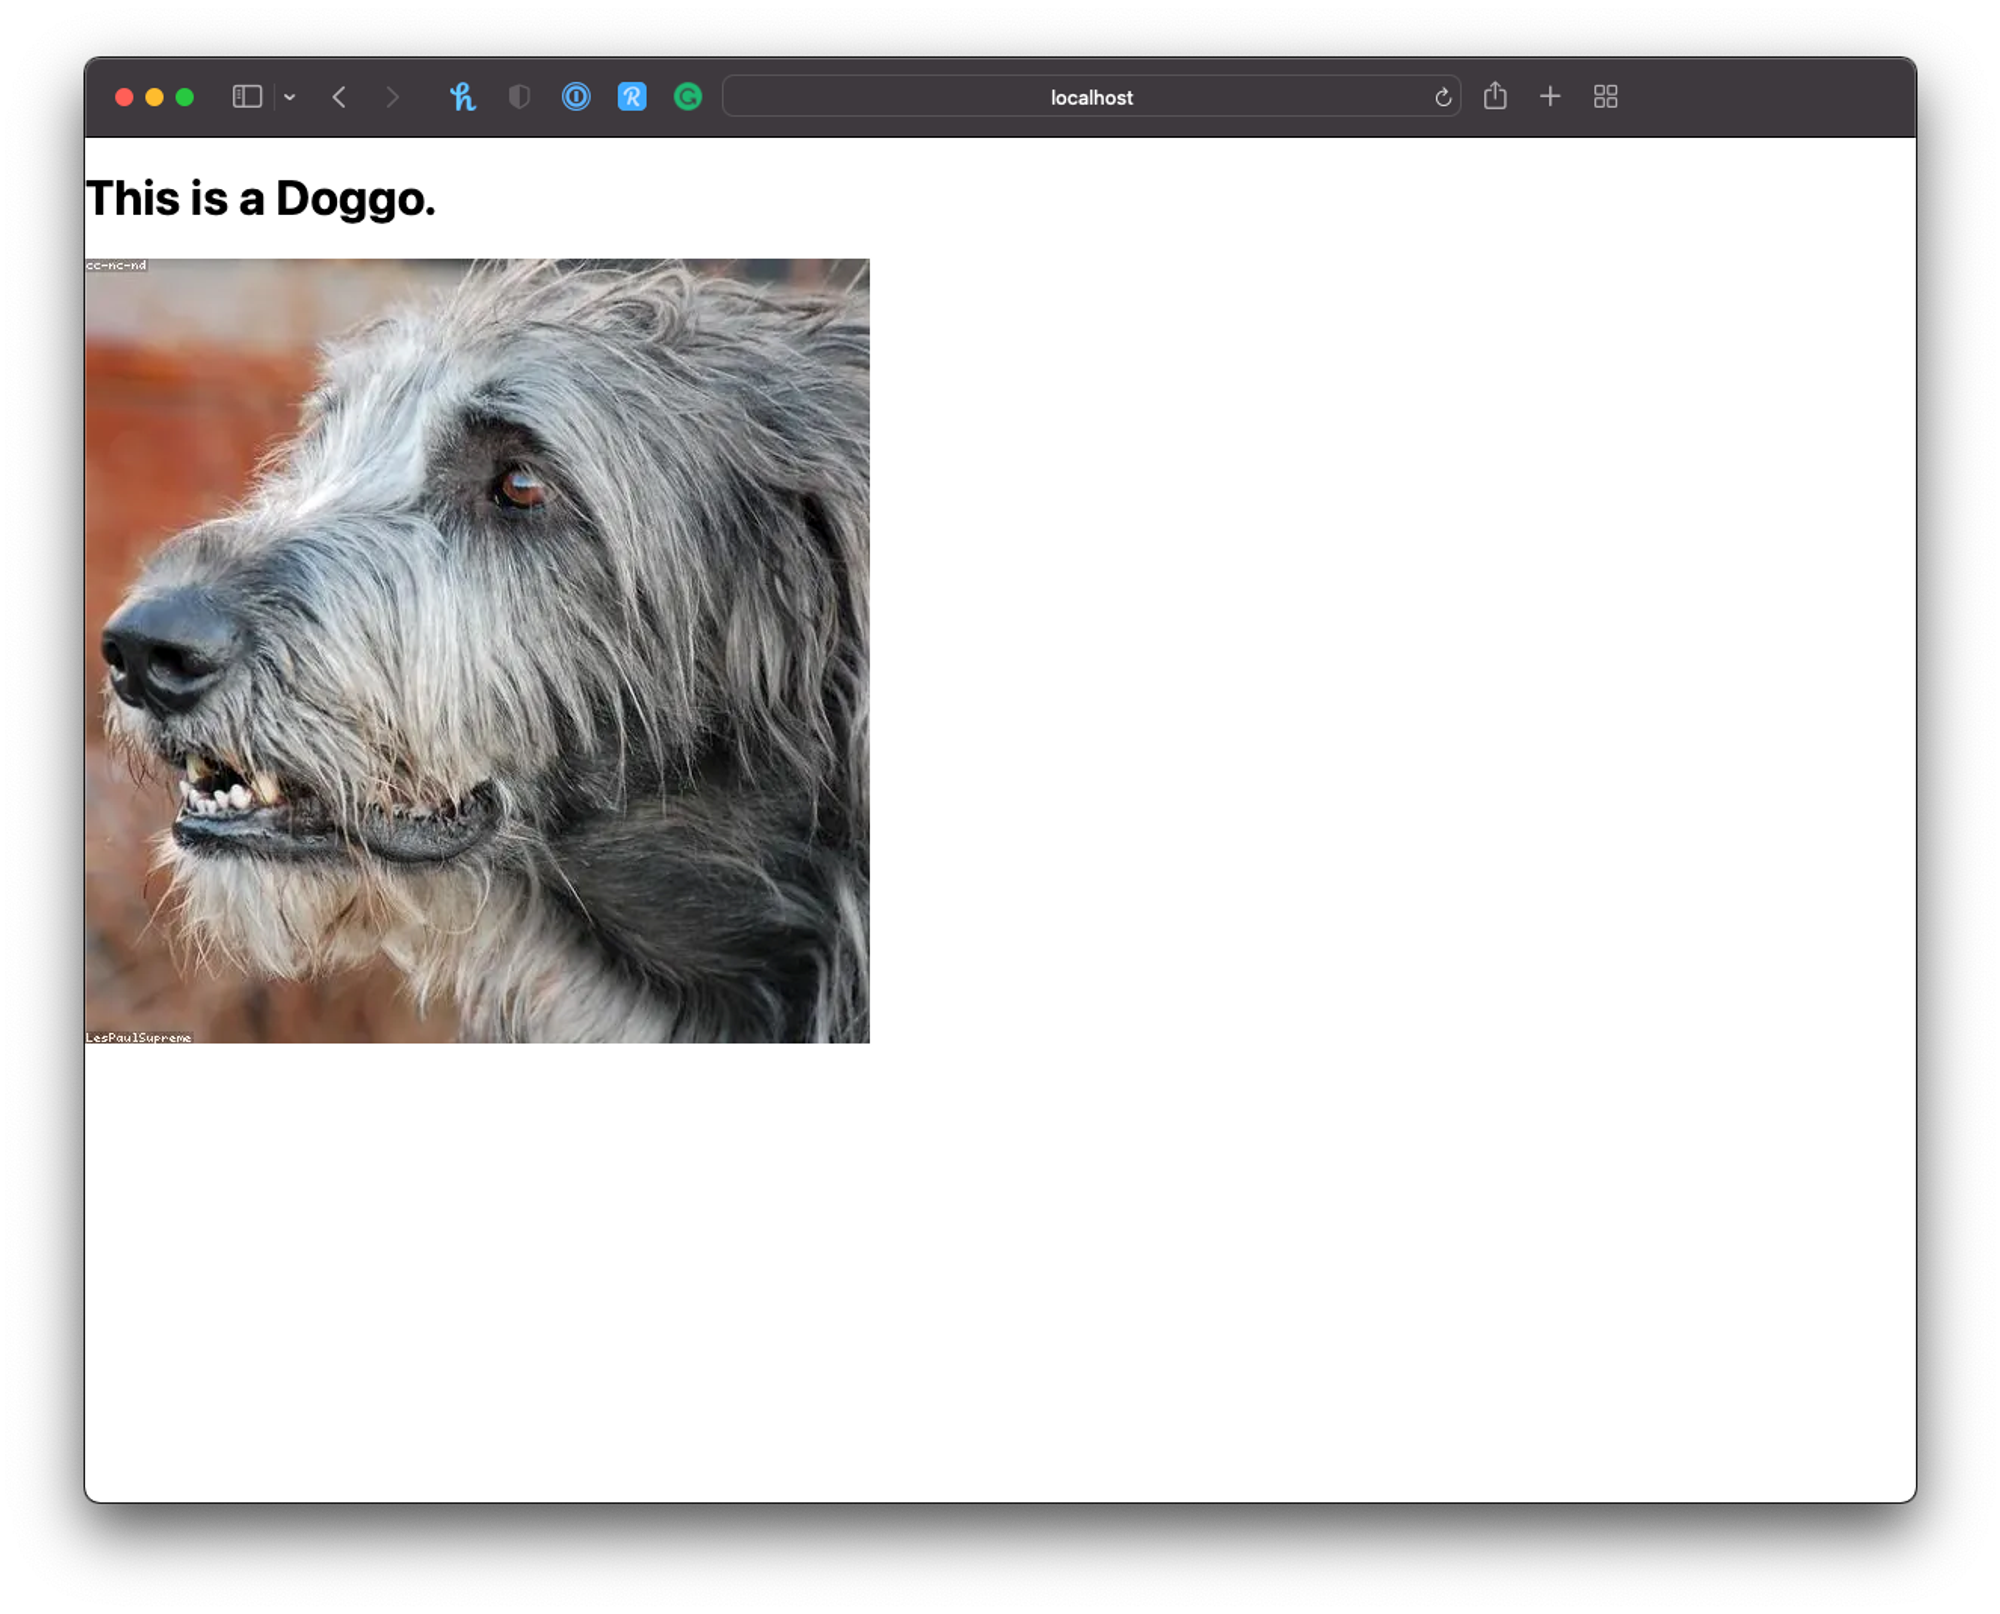
If we now run our server and navigate to http://localhost:3000/dogs/a-doggo, there will be a random image of a doggo for us to contemplate. 🐶
Navigating Static Routes
Our application now has two pages, and to navigate between them we have been manually changing our URL in the address bar. Let’s change that!
Normally, we link between pages on our own or external website using the <a> HTML tag. But Next.js builds on top of that. You can use the Link Component to wrap the <a> tag, allowing you to do client-side navigation to a different page in the application.
Client-side navigation means that the page transition happens using JavaScript, which is faster than the default browser navigation methods.
Another great benefit of using Next.js Link Component is that pages containing one or more Link Components will prefetch the code for the linked page in the background as soon as the Link becomes visible in the viewport. This allows for a faster initial page render as Next.js will only load the code for the page you requested and only load other linked pages when the Link Component is visible, and it does it in the background, not impacting the overall user experience and making the navigation extremely fast for a client-side application.
But how do we use it then? Well, it is pretty straightforward as using a normal <a> HTML tag would be. So let’s include a Link on our Homepage to go to our doggo page and another to get back home.
Replace your /pages/index.tsx code with the following:
import type { NextPage } from 'next'
import Head from 'next/head'
import Image from 'next/image'
import Link from 'next/link'
import styles from '../styles/Home.module.css'
const Home: NextPage = () => {
return (
<div className={styles.container}>
<Head>
<title>Create Next App</title>
<meta name="description" content="Generated by create next app" />
<link rel="icon" href="/favicon.ico" />
</Head>
<main className={styles.main}>
<h1 className={styles.title}>
Welcome to <a href="https://nextjs.org">Next.js!</a>
</h1>
<p className={styles.description}>
Let's check our <Link href="dogs/a-doggo">doggo</Link>.
</p>
</main>
<footer className={styles.footer}>
<a
href="https://vercel.com?utm_source=create-next-app&utm_medium=default-template&utm_campaign=create-next-app"
target="_blank"
rel="noopener noreferrer"
>
Powered by{' '}
<span className={styles.logo}>
<Image src="/vercel.svg" alt="Vercel Logo" width={72} height={16} />
</span>
</a>
</footer>
</div>
)
}
export default Home
In your /pages/a-doggo.tsx replace your code with this one where we added a styled paragraph linking to our home page.
import type { NextPage } from 'next'
import Head from 'next/head'
import Image from 'next/image'
import Link from 'next/link'

const Doggo: NextPage = () => {
  return (
    <div>
      <Head>
        <title>A Doggo</title>
      </Head>

      <main>
        <h1>
          This is a Doggo.
        </h1>

        <Image alt="This is a doggo" src='https://loremflickr.com/520/520/dog' width={520} height={520}/>
        <p style={{color: "#0070f3"}}><Link href="/">Back Home</Link></p>
      </main>
    </div>
  )
}

export default Doggo
And now we can easily navigate through our application’s pages 😎

Final Remarks
Now that you have a working Next.js app up and running, don't stop there. As a good exercise, go ahead and create more pages for your application (ie. About Us, Contacts) and more doggos. If you run into any trouble feel free to reach out to me on Twitter, my DMs are always open.
Next Steps: Keep an eye out for my following Next.js tutorials where we will go over Dynamic Routes and much more! If you don’t want to miss out on any of the tutorials, signup for my newsletter by clicking here.


